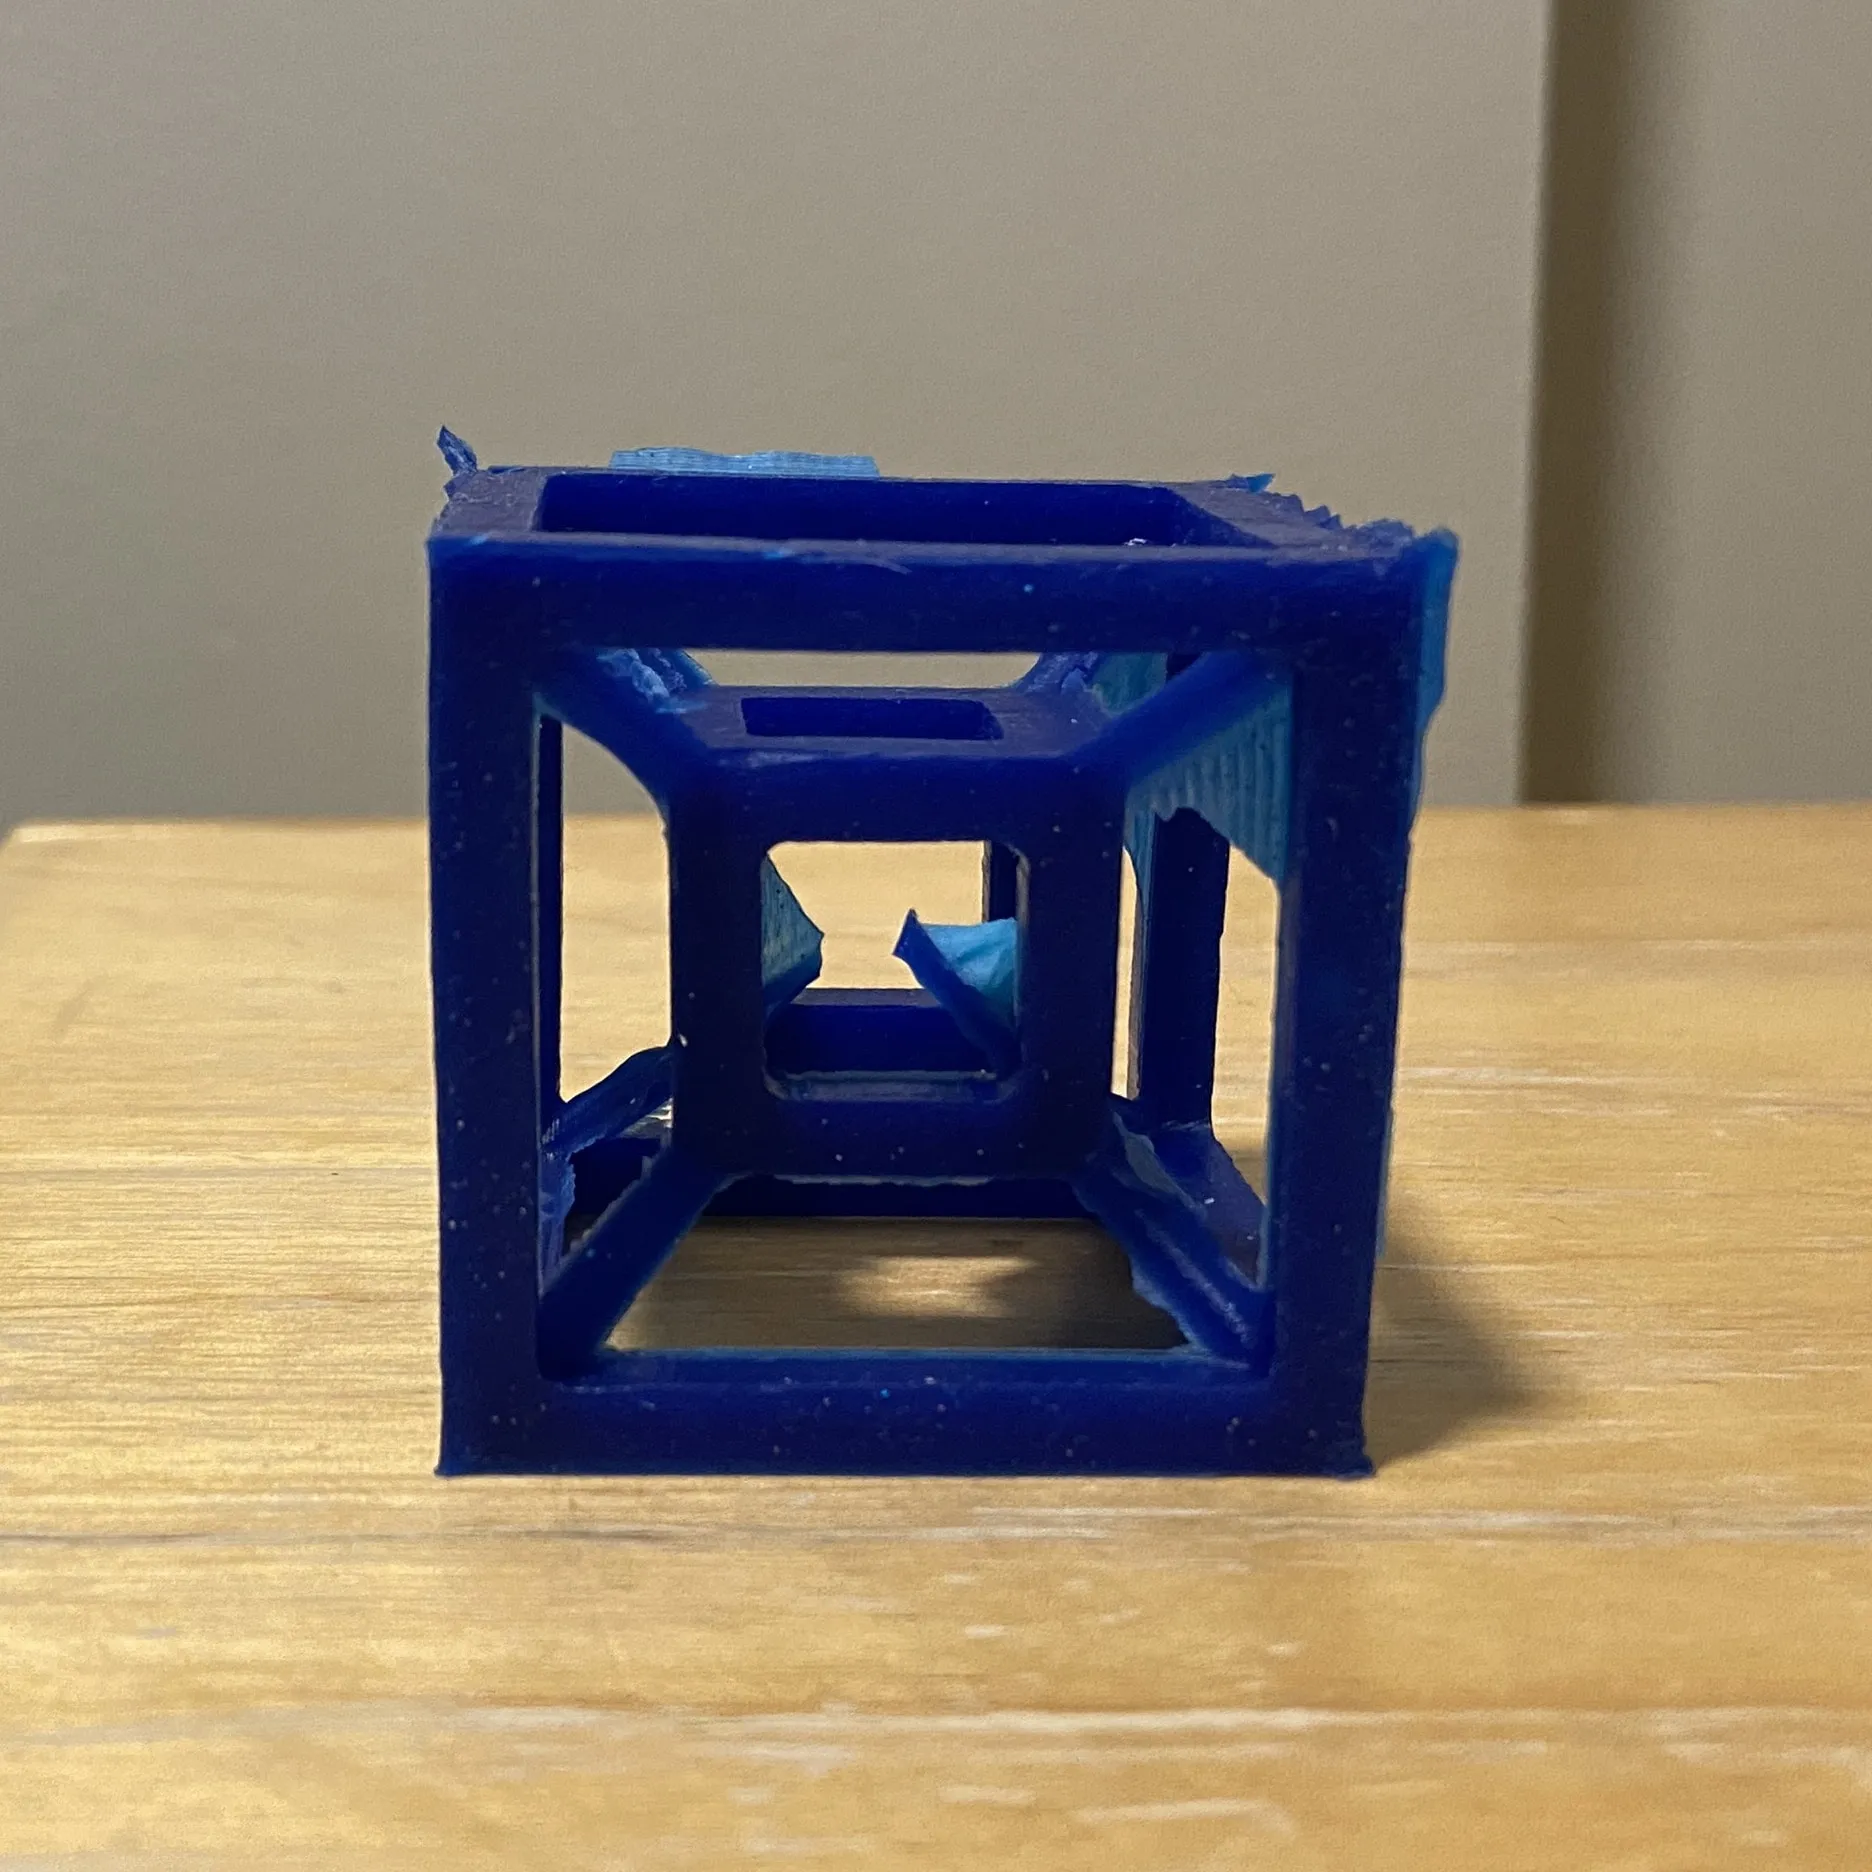
How it was made
A 4D cube, cast in silicone from a CNC-machined six-part mold
This build was inspired by a the work of a previous HTMAA student whose hypercube lived in the The Deep, a (now closed) makerspace where I ran a weekly silicone mold training. The hypercube was also a favourite for people to try mold in. However, the 3D printed mold was notoriously hard to get a good cube out of, so I decided to make my own for my trainings.
The plan
- CAD the hypercube in Fusion 360
- Generate its negative
- Cut the negative out of a block of wax on a router
- Mold the cube in silicone
Designing the tesseract
I started with two cubes in Fusion 360.
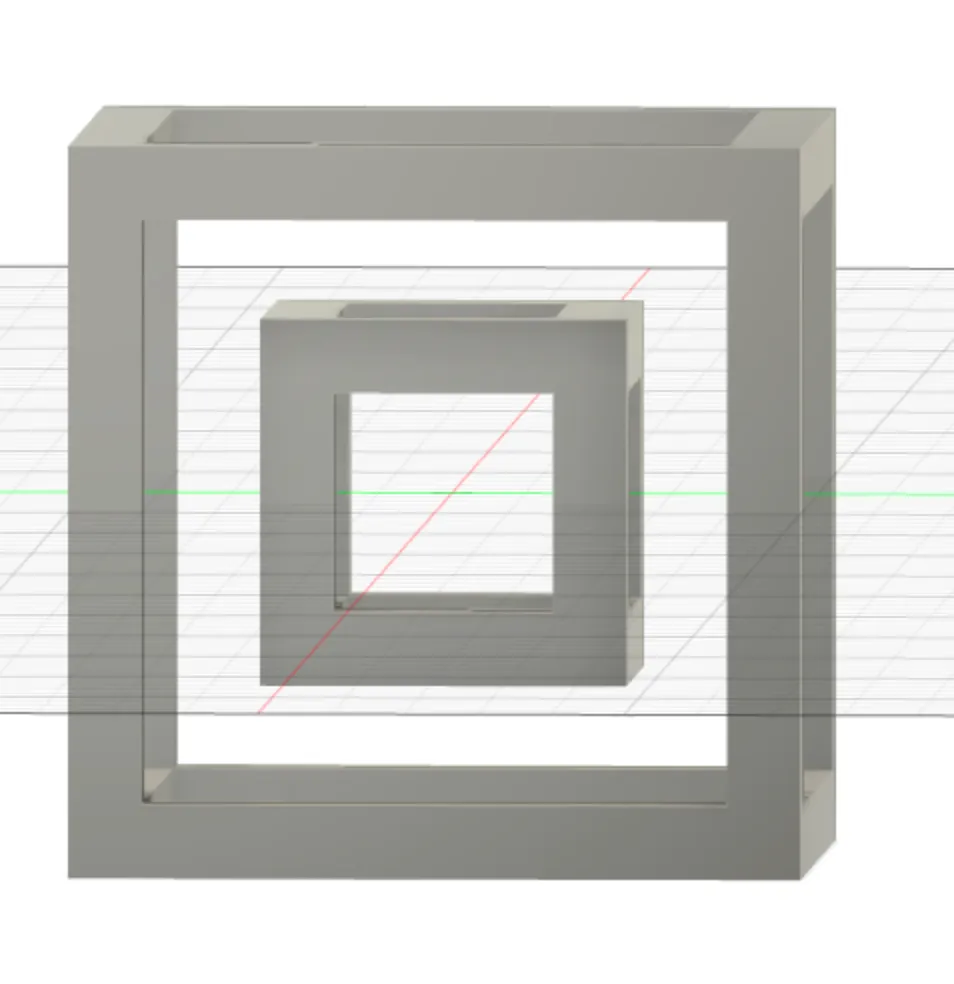 Cube inside another cube
I drew a line from a bottom corner to a top corner and made a pipe with a rectangular cross section along it.
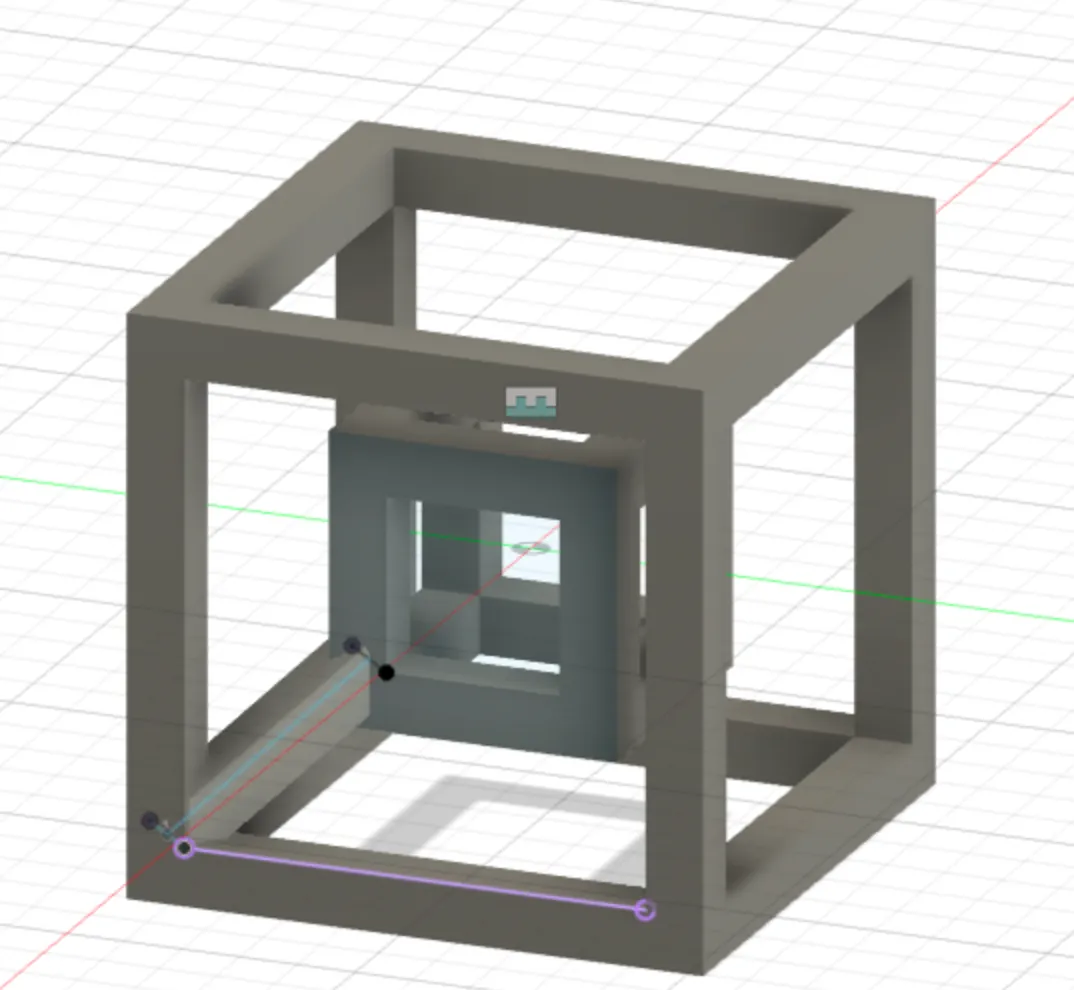 Cube with an arm
Circular patterning and mirroring the arm gave me all 8 structs.
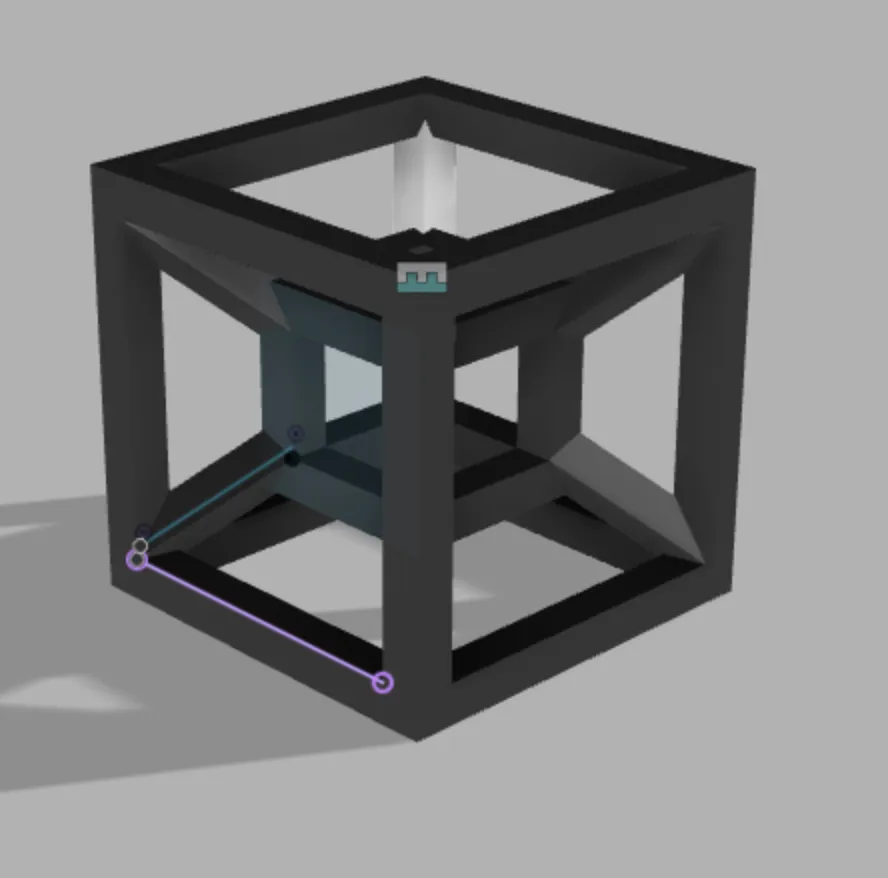 Finished cube
To mold it, I actually needed the negative of the space the hypercube takes up. I made a cube 10mm wider than mine, placed the hypercube inside, and used Fusion’s Combine feature to cut it out.
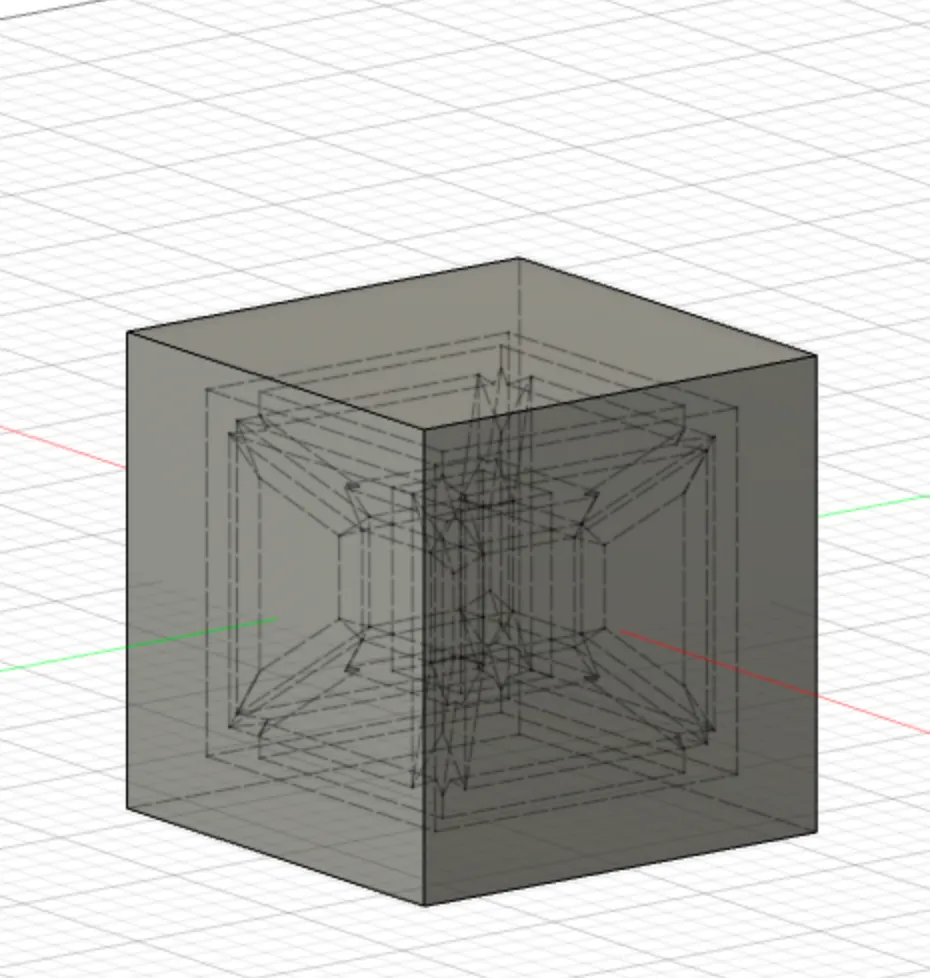 Cube with hypercube cut out
Four planes, each at 45 degrees, divided the block into six pieces.
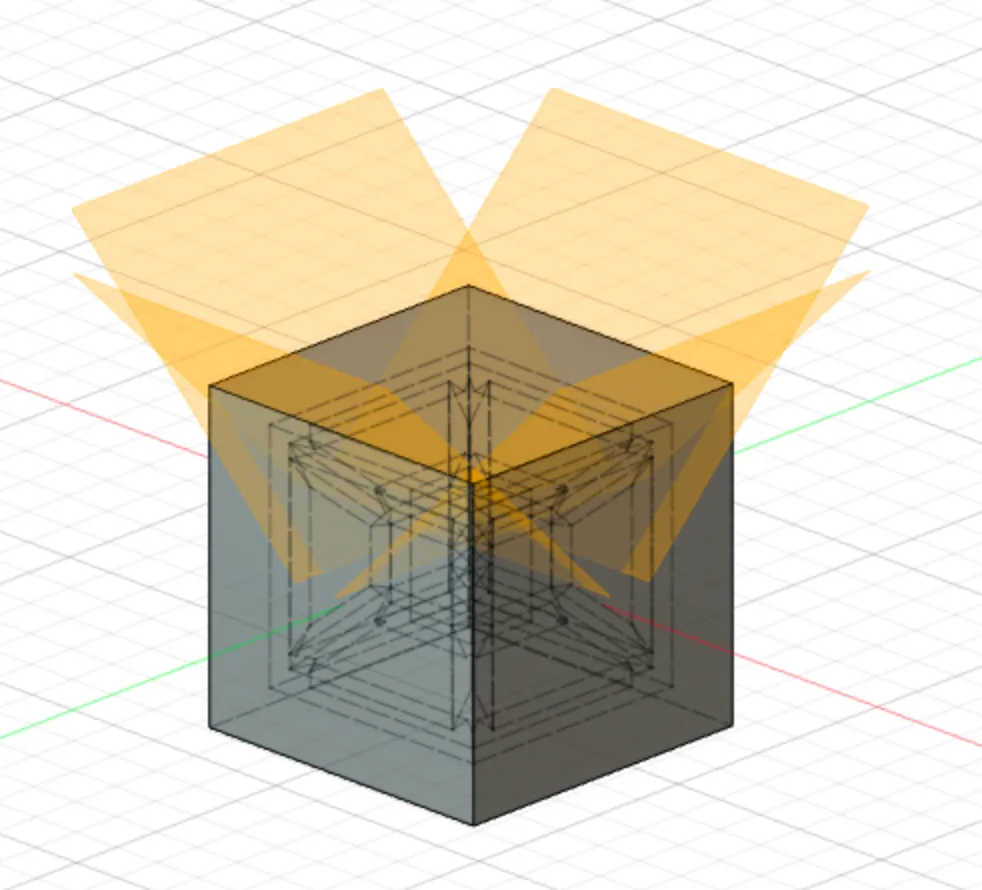 Cube with 4 planes
That gave me the piece I needed to mold.
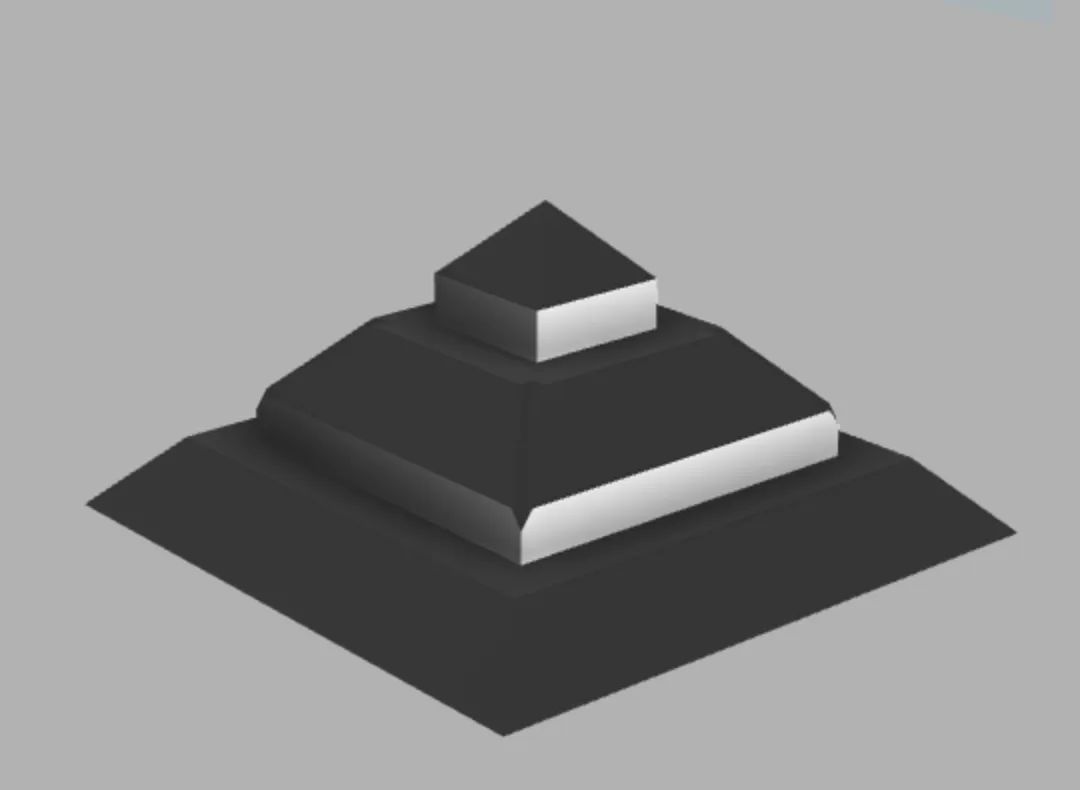 Negative of cube to mold
CAM and cutting
I was given a 1.5”x3”x7” block of wax to cut on the ShopBot CNC router. In a new Fusion 360 file I modeled the block and cut the hypercube negative out of it.
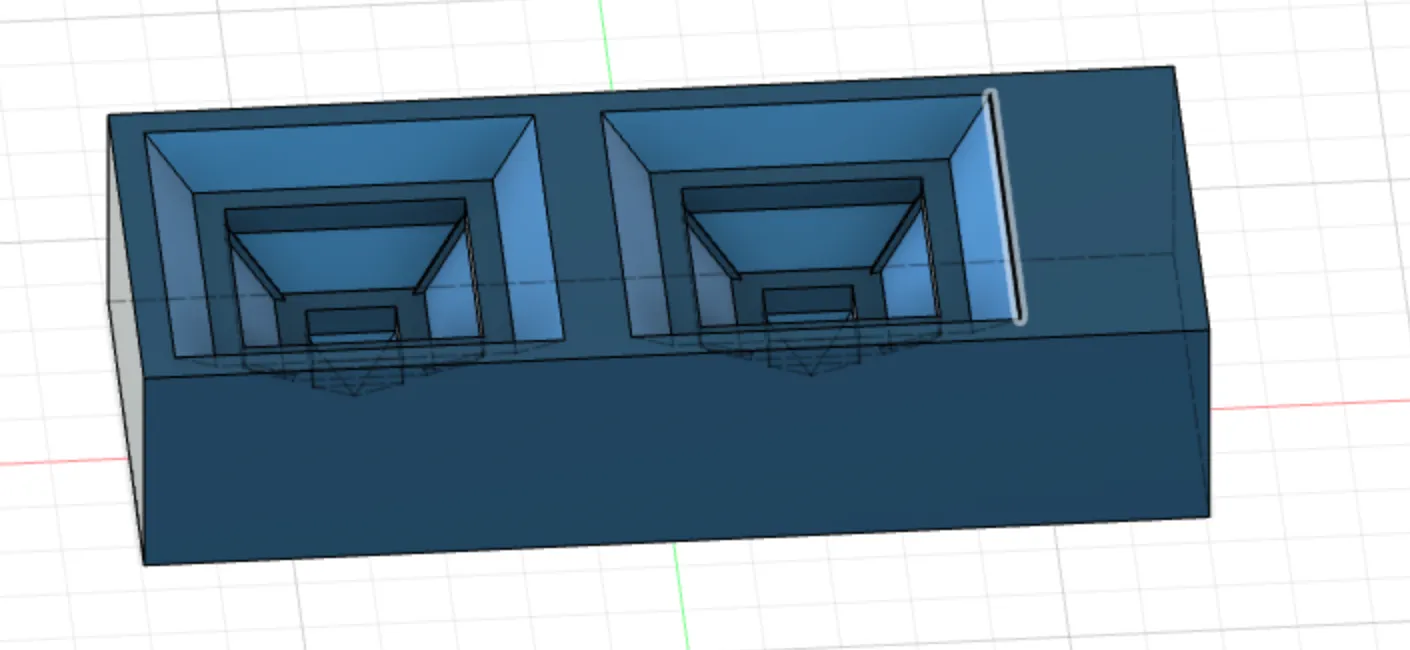 Wax with cube cutout
In the manufacturing workspace I used an adaptive clearing and a flat facing before a contour finishing pass.
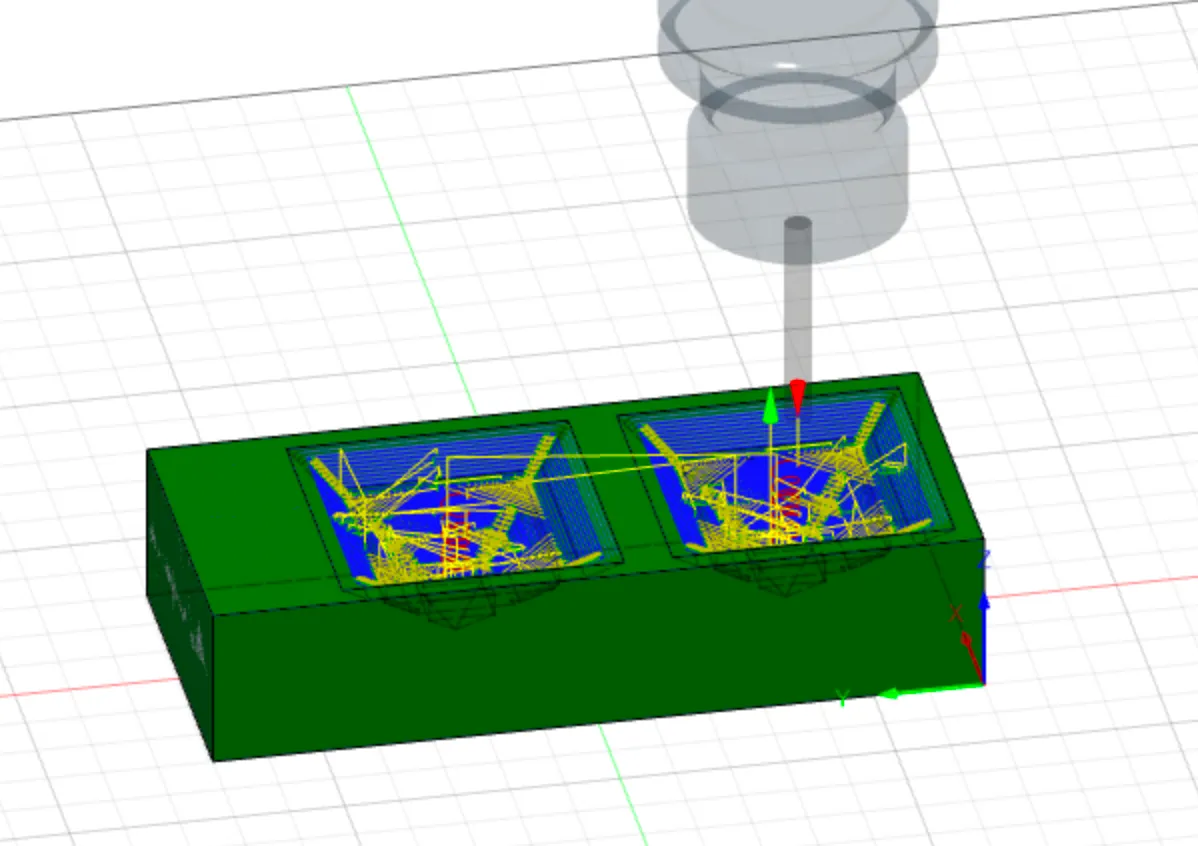 Adaptive clearing operation
Then I cut the block on the router.
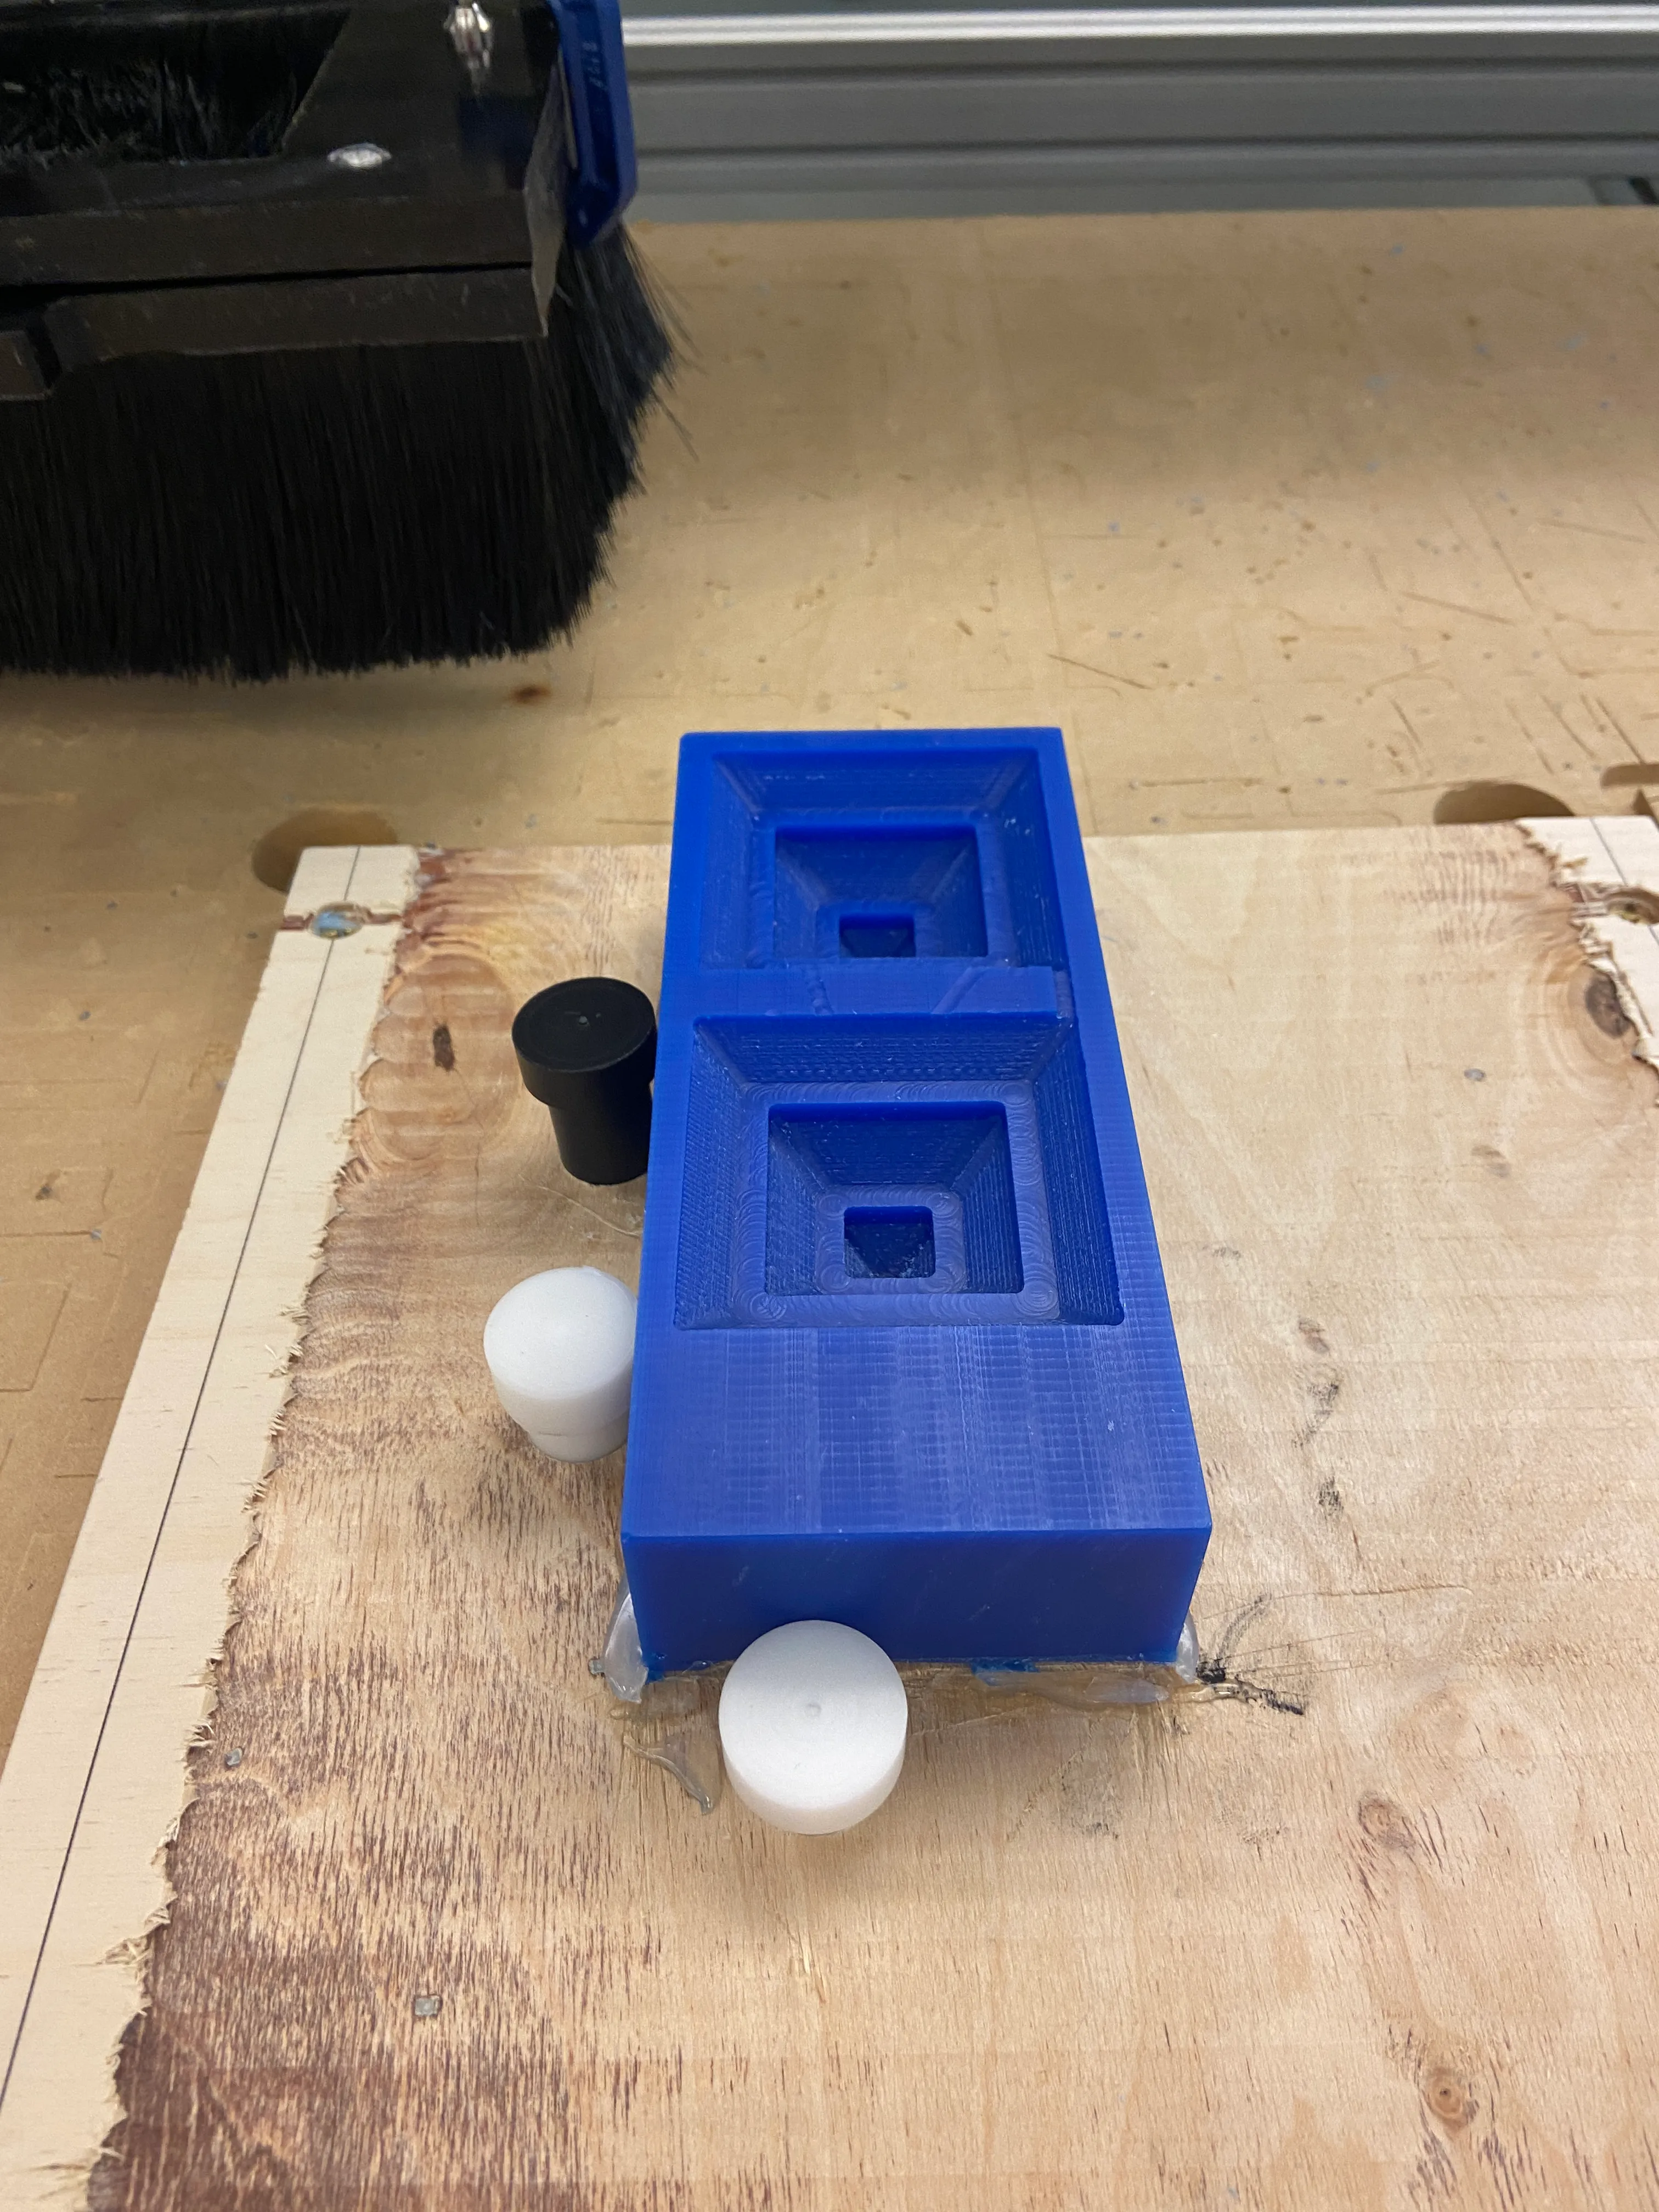 Wax block after cutting
Molding the sides
Originally I planned to use Oomoo, however this material has a cure time of around 2 hours and as I only had one block I could only mold two sides at a time. Instead I went to The Deep, which had a different material Mold Star, which has a cure time of 30 minutes.
To work out how much material I needed, I filled the wax block with couscous and measured it.
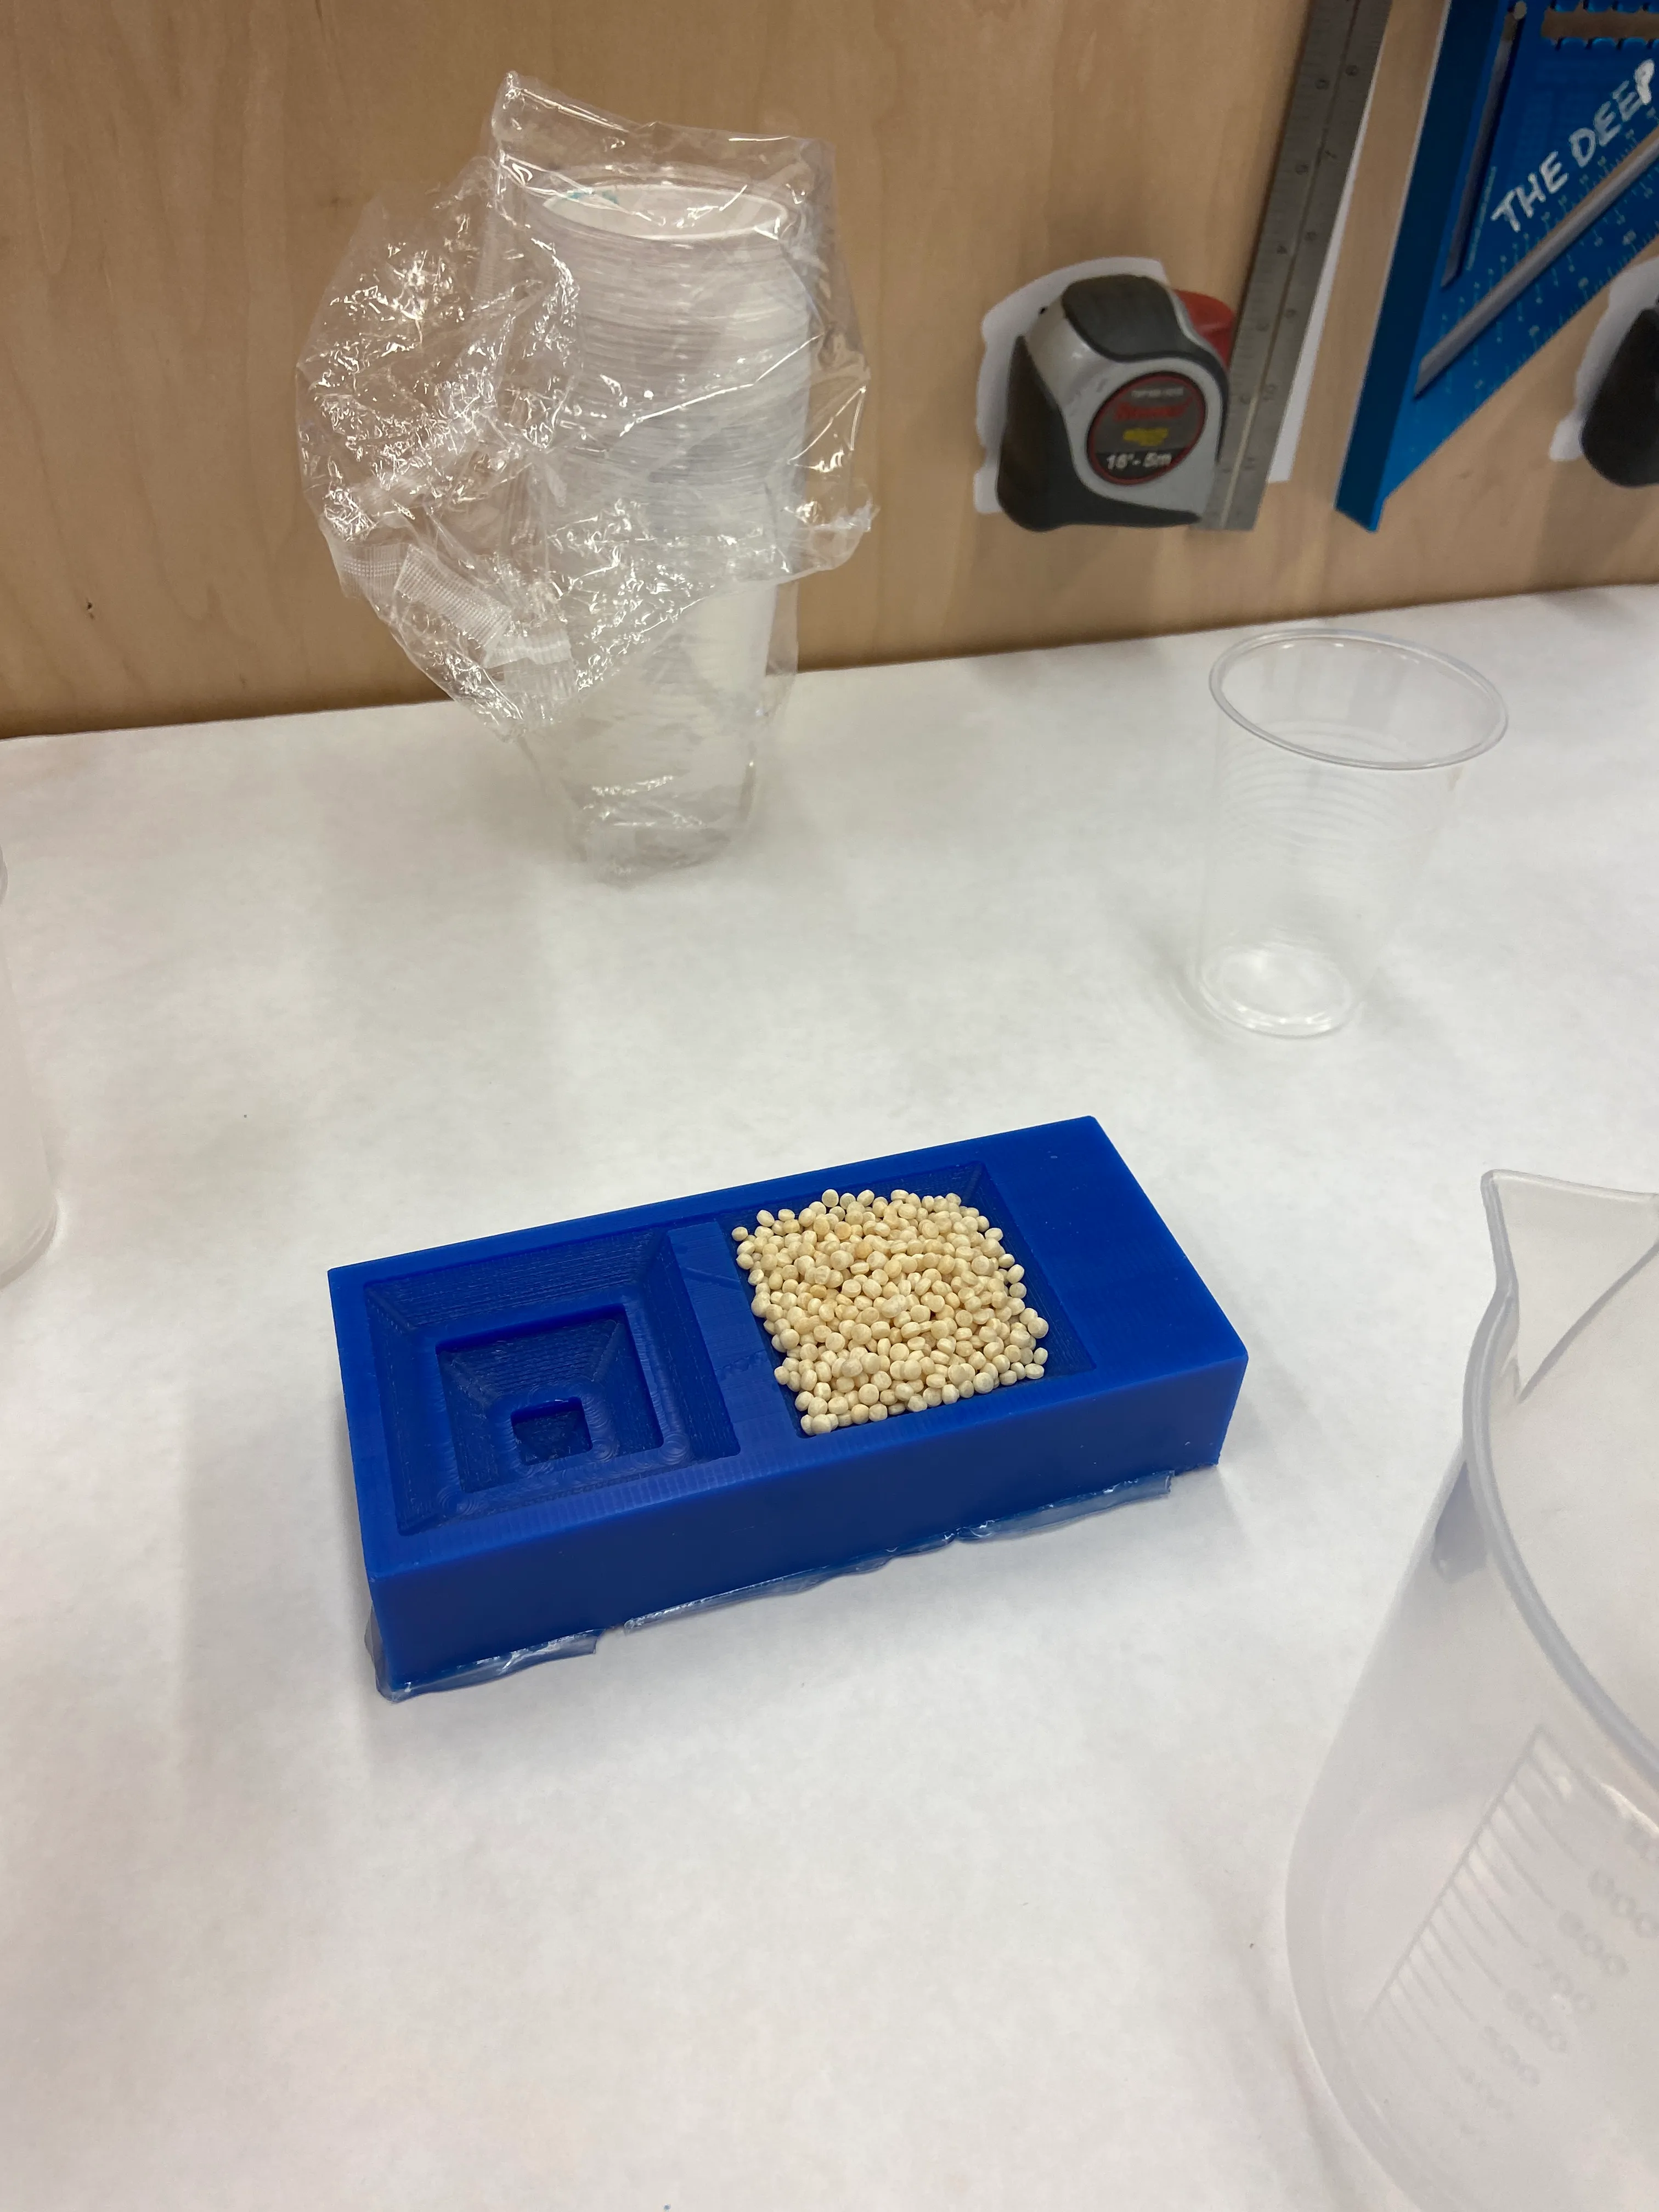 Measuring volume with couscous
I mixed Part A and Part B of Mold Star. As Mold Star has a pot time of only 6 minutes, there was no time for photos! After 30 minutes, out came the mold:
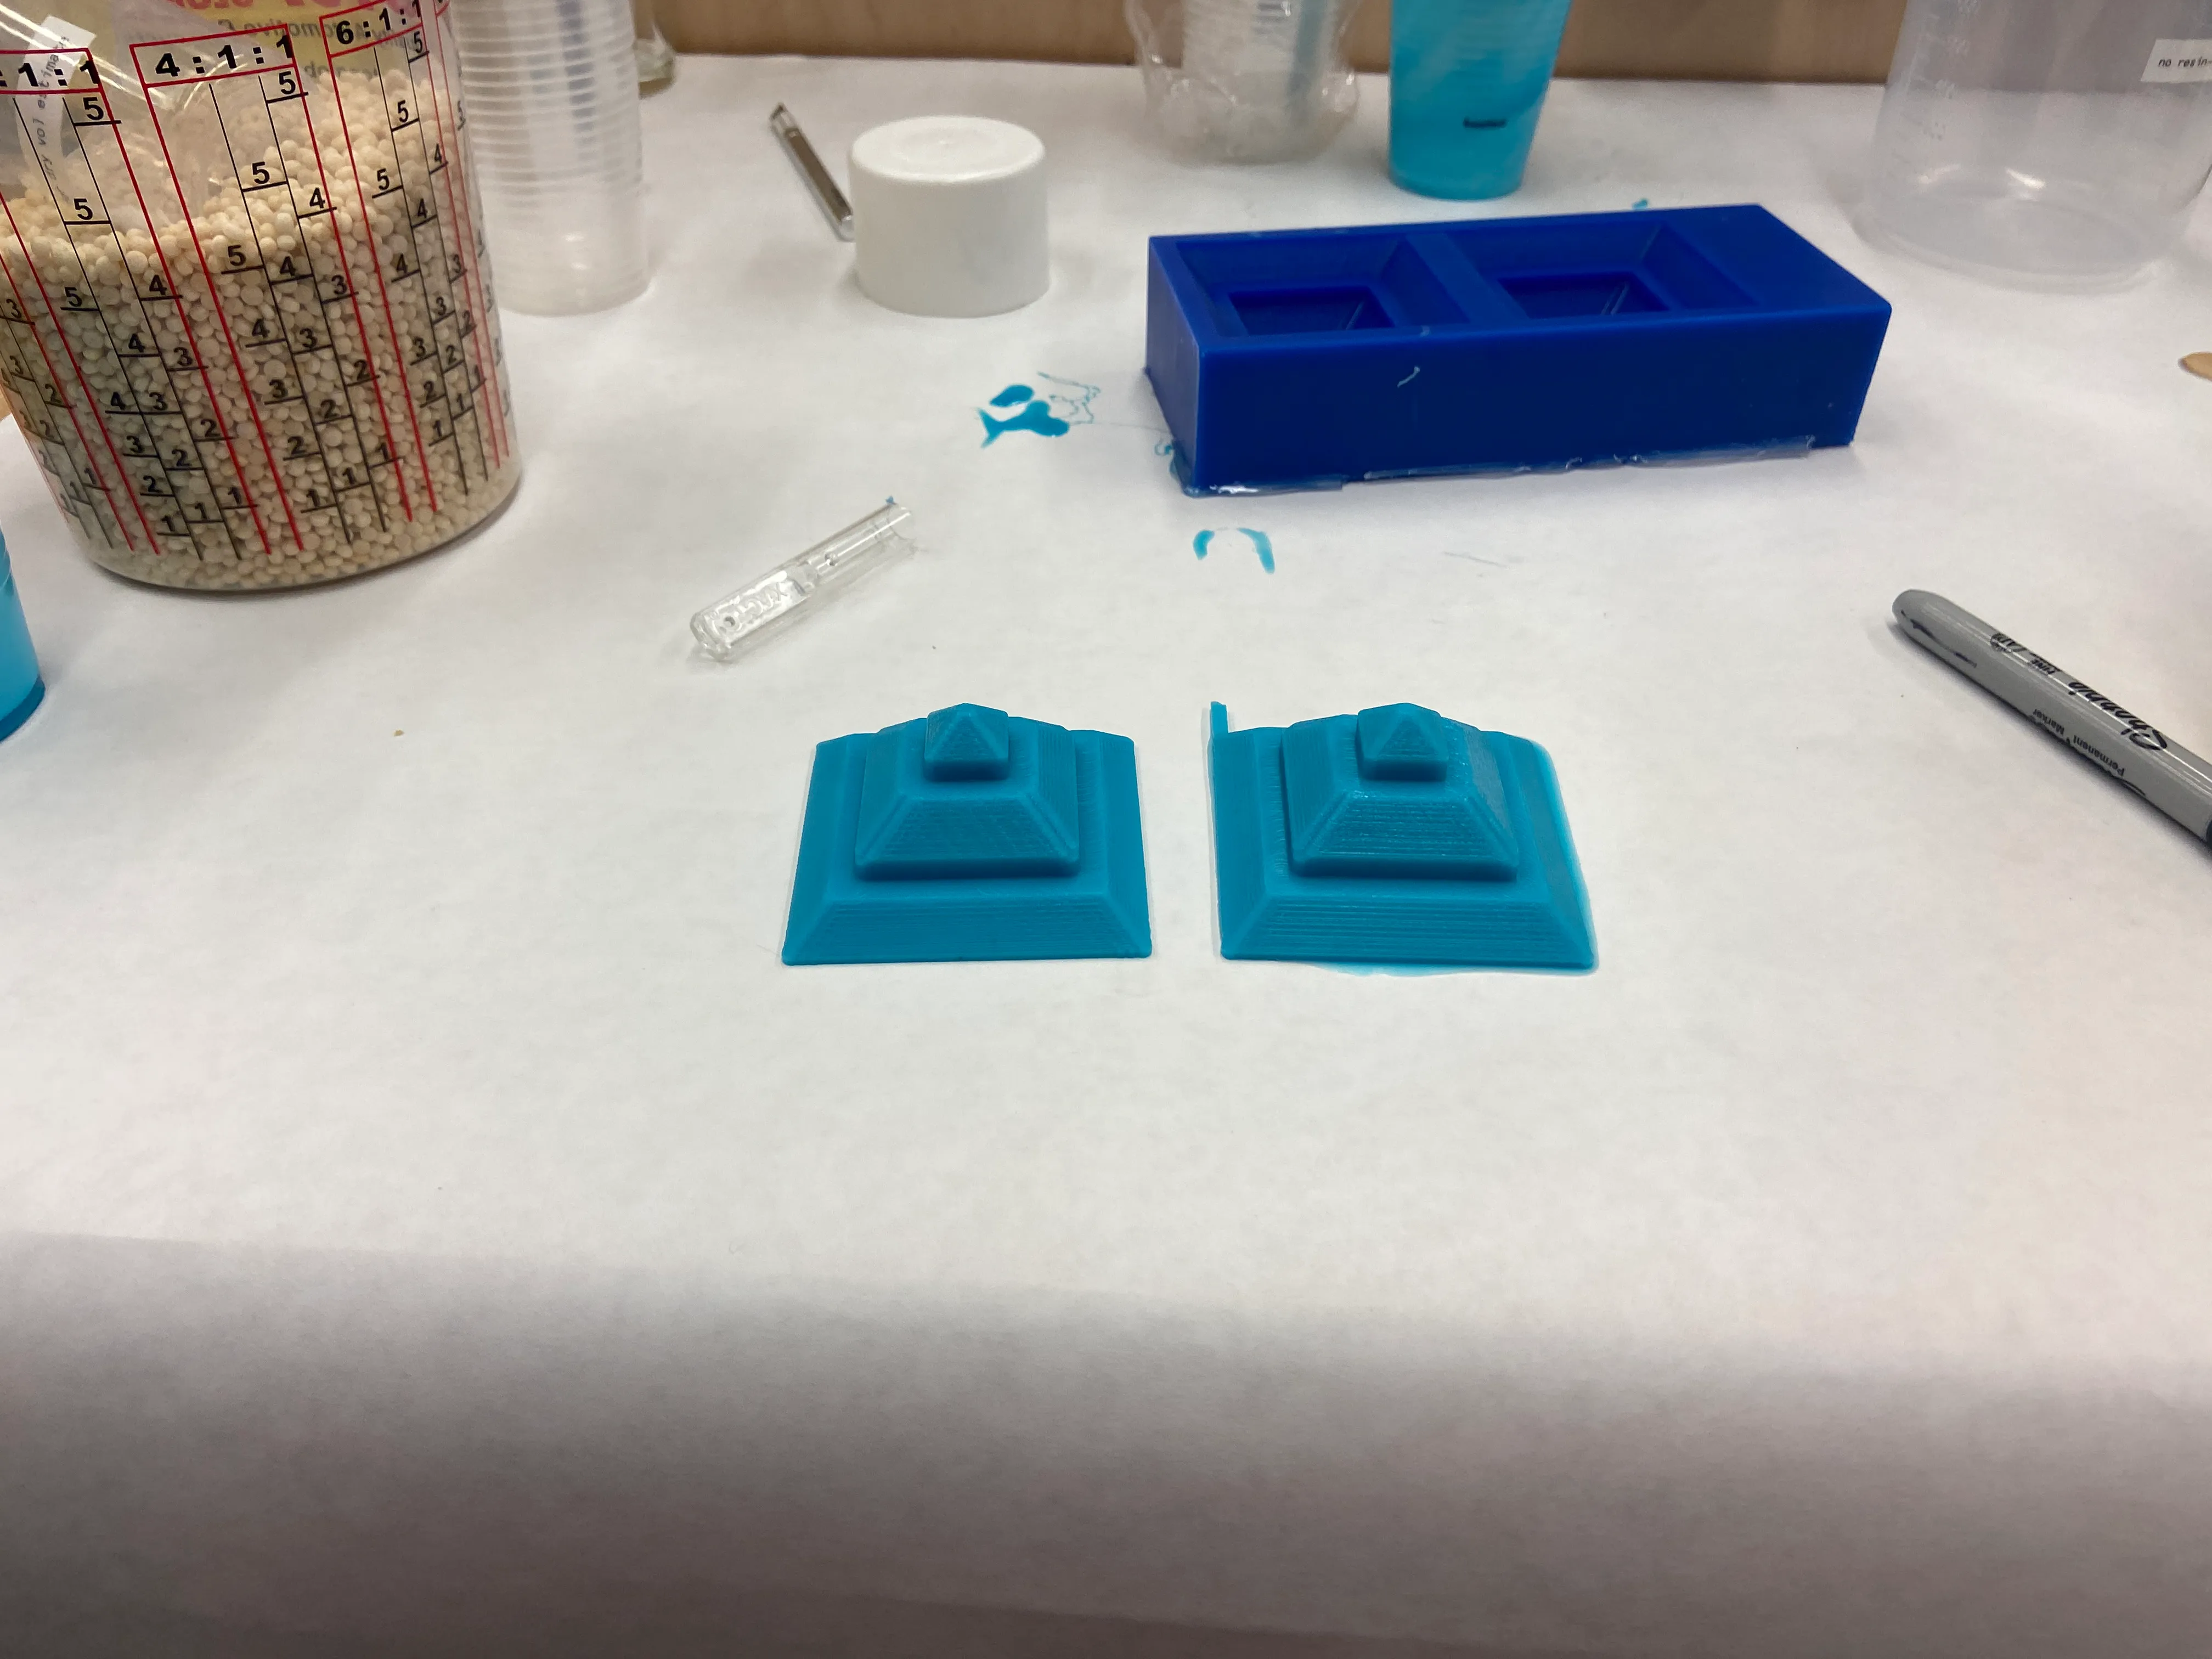 Two molded cube sides
Two more rounds gave me all six pieces.
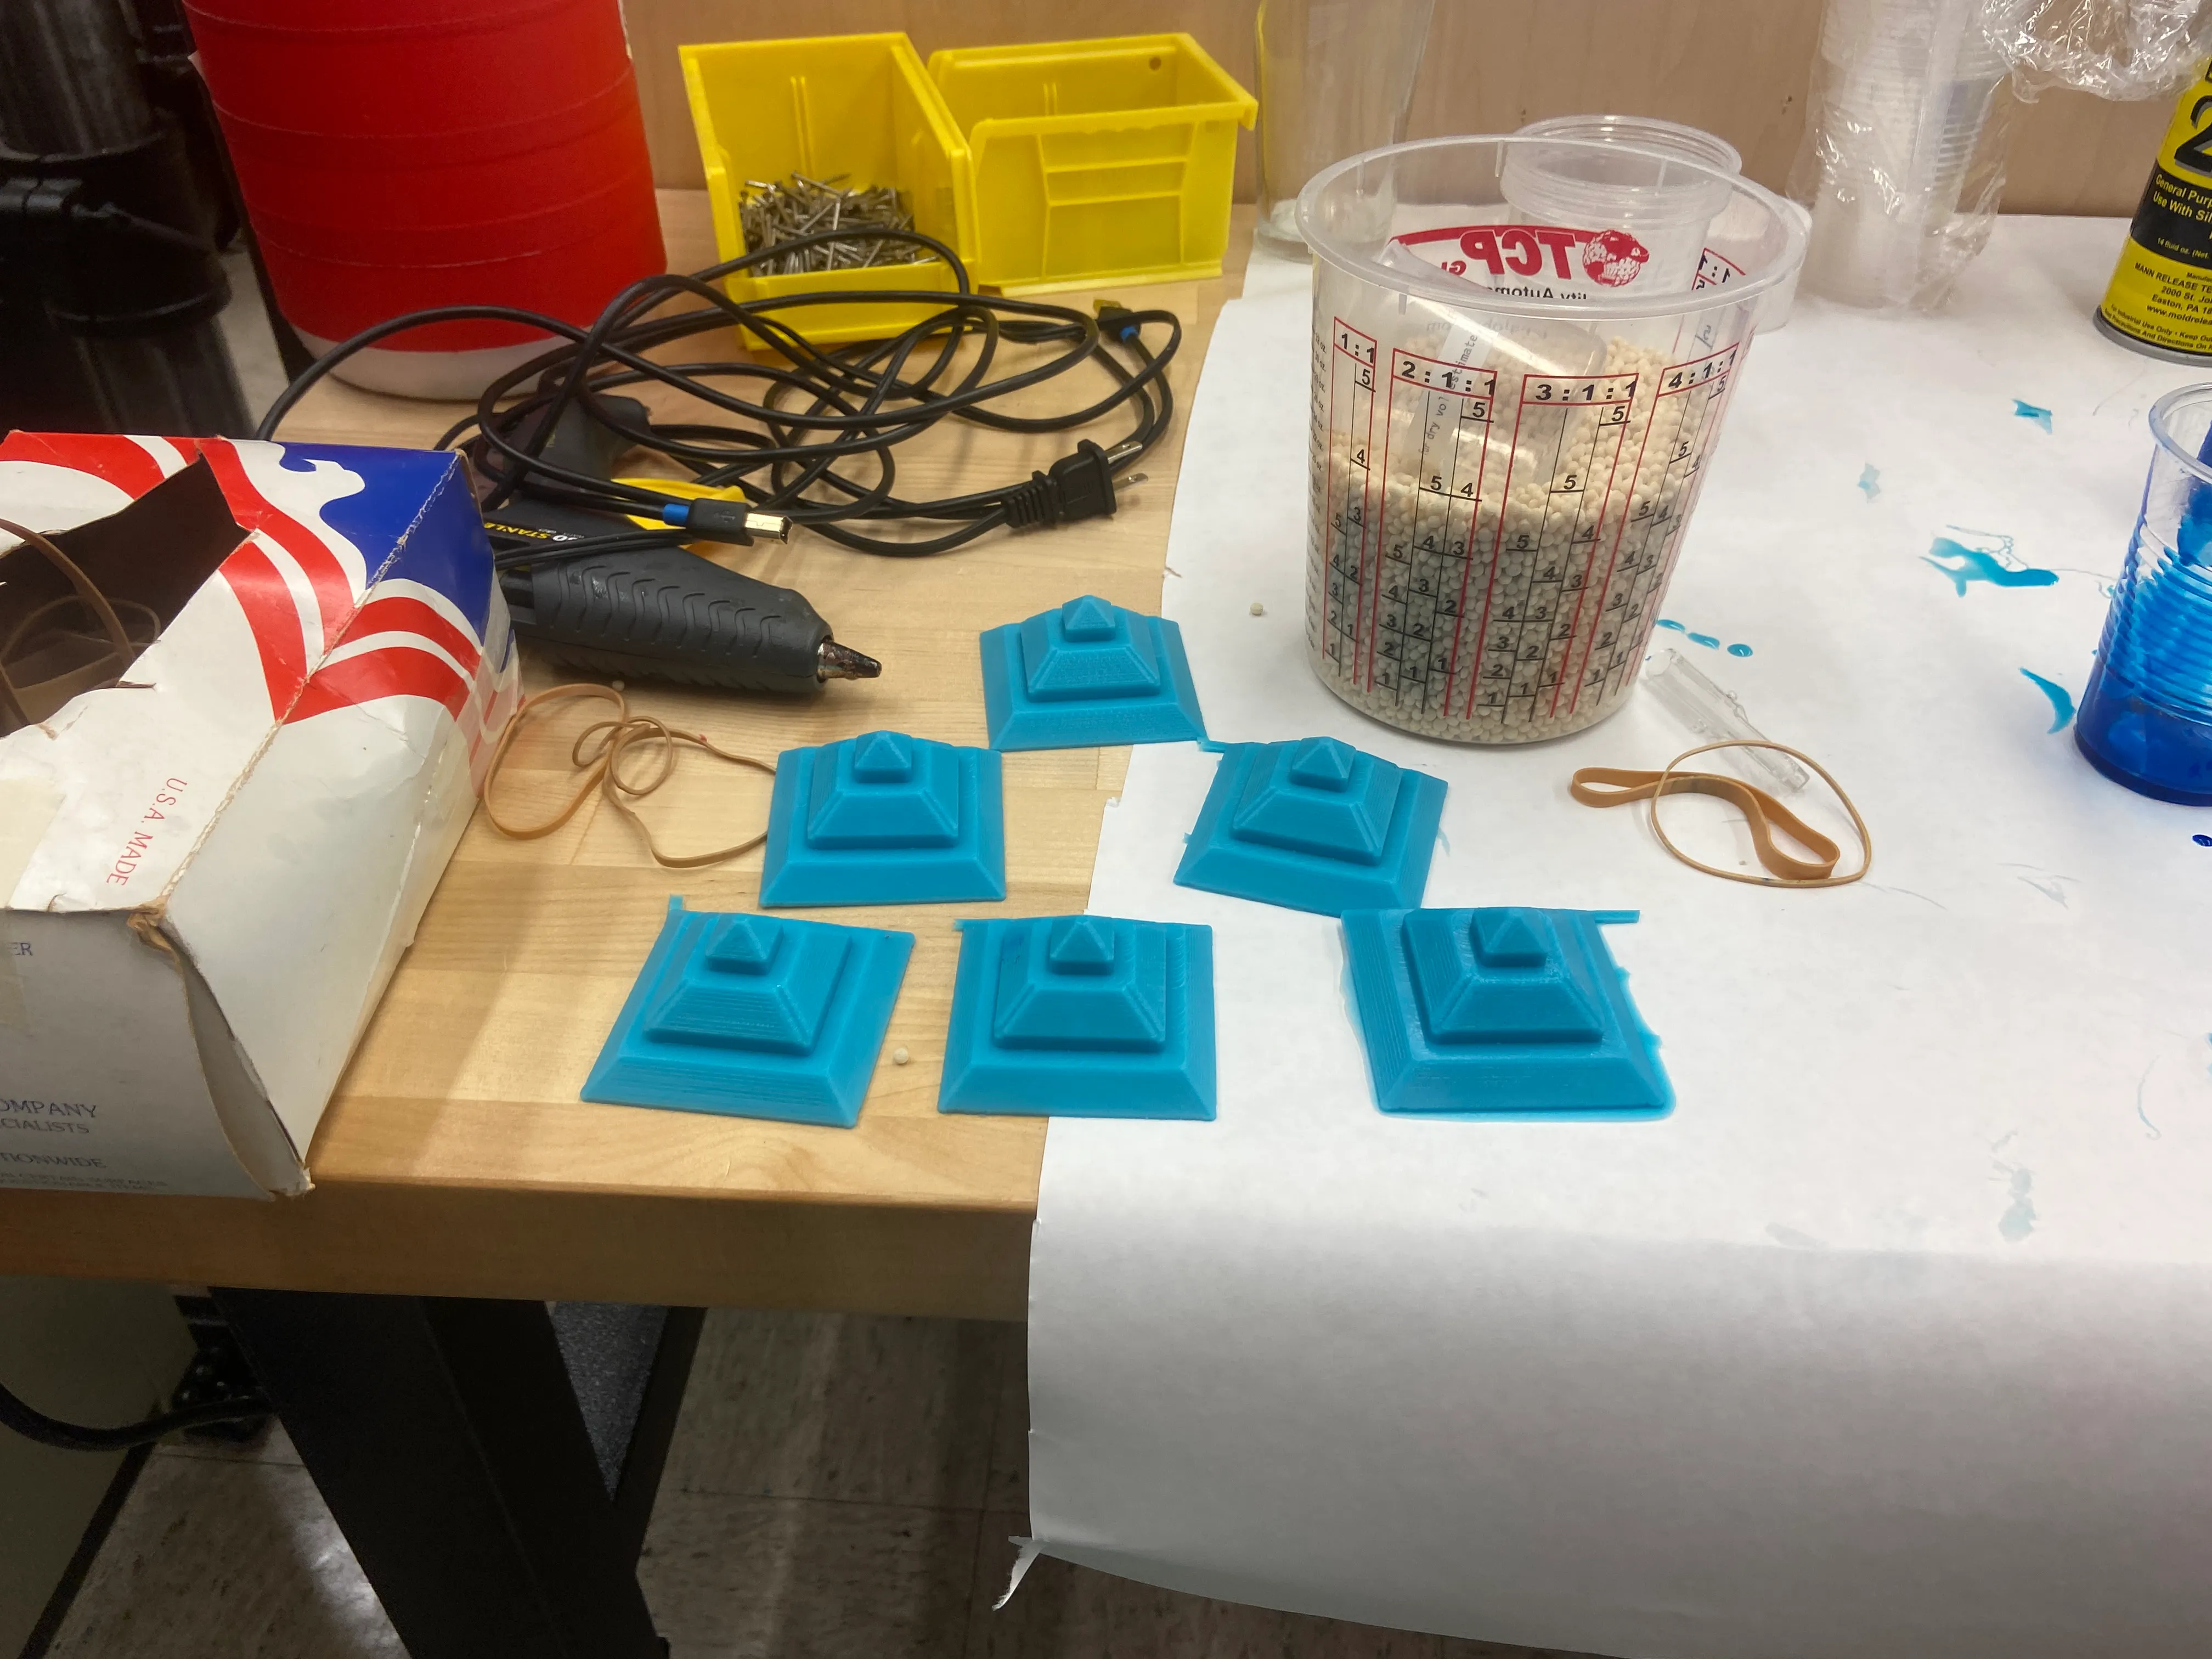 All six molded cube sides
Casting the cube
Now I could finally cast the hypercube. I applied mold release to each piece and held them together with elastic bands.
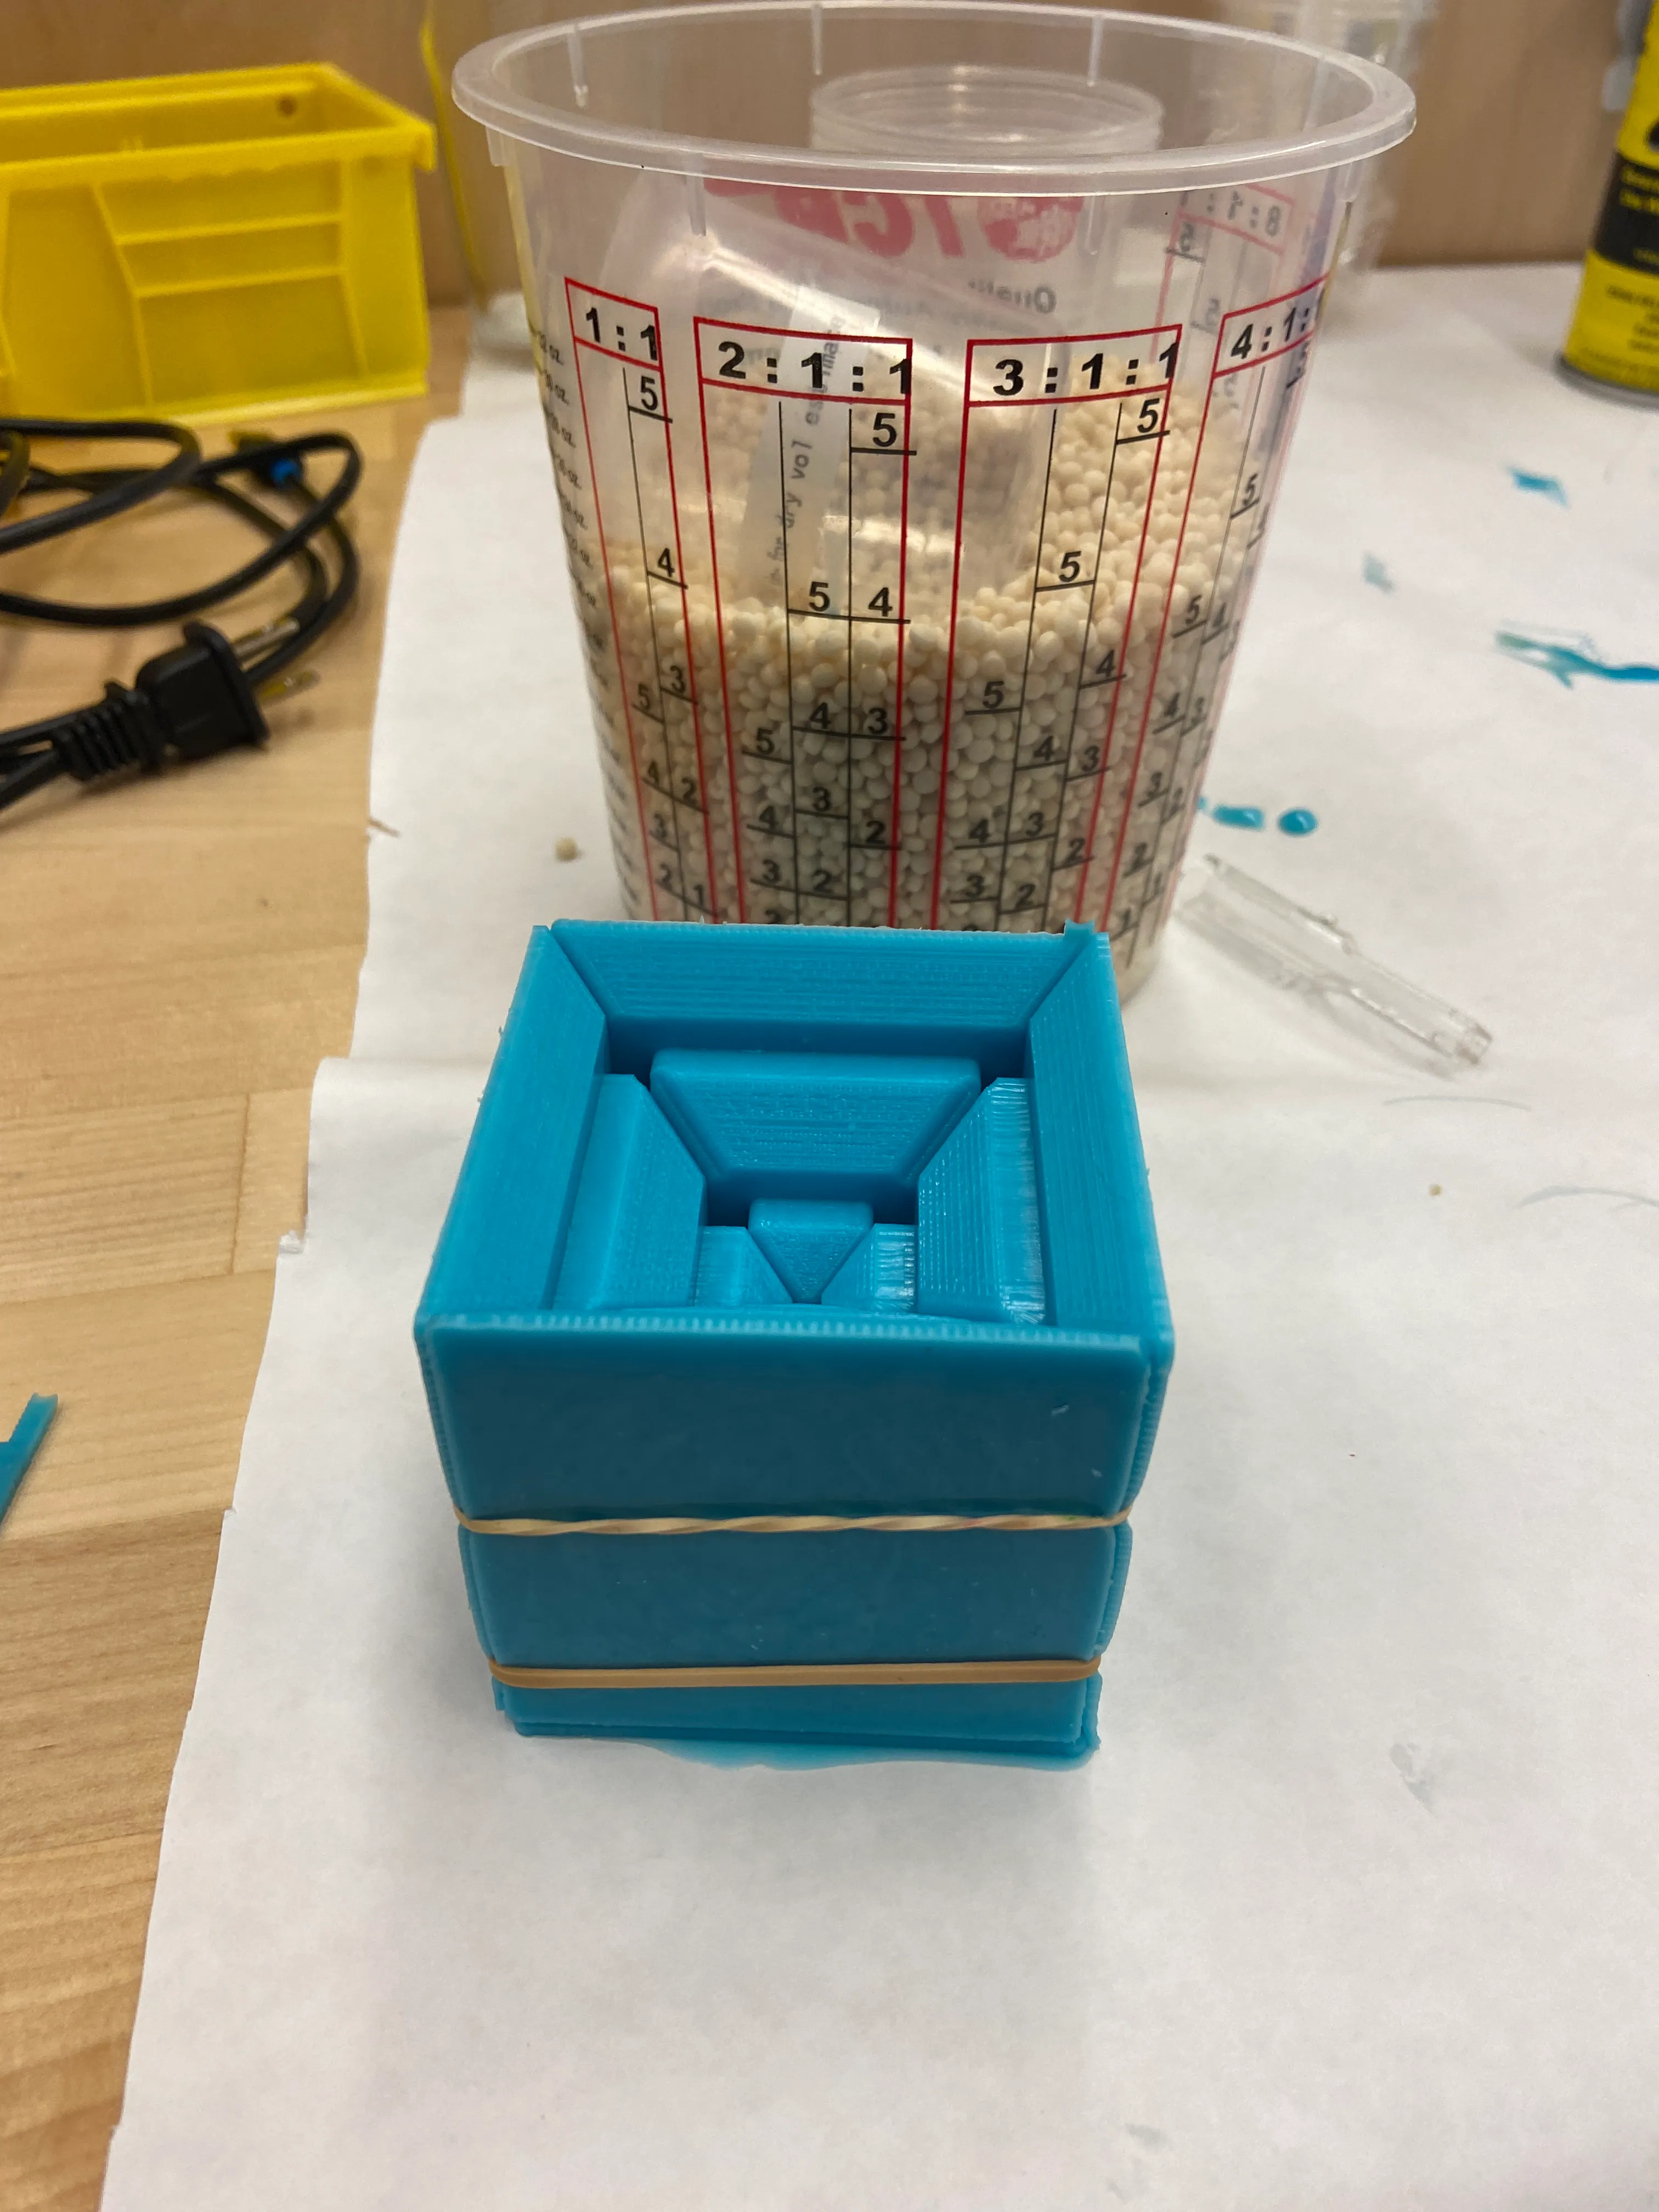 Assembled mold
I mixed Part A and Part B of Dragon Skin, another silicone, with blue dye and some glitter for effect and degassed it in a vacuum chamber.
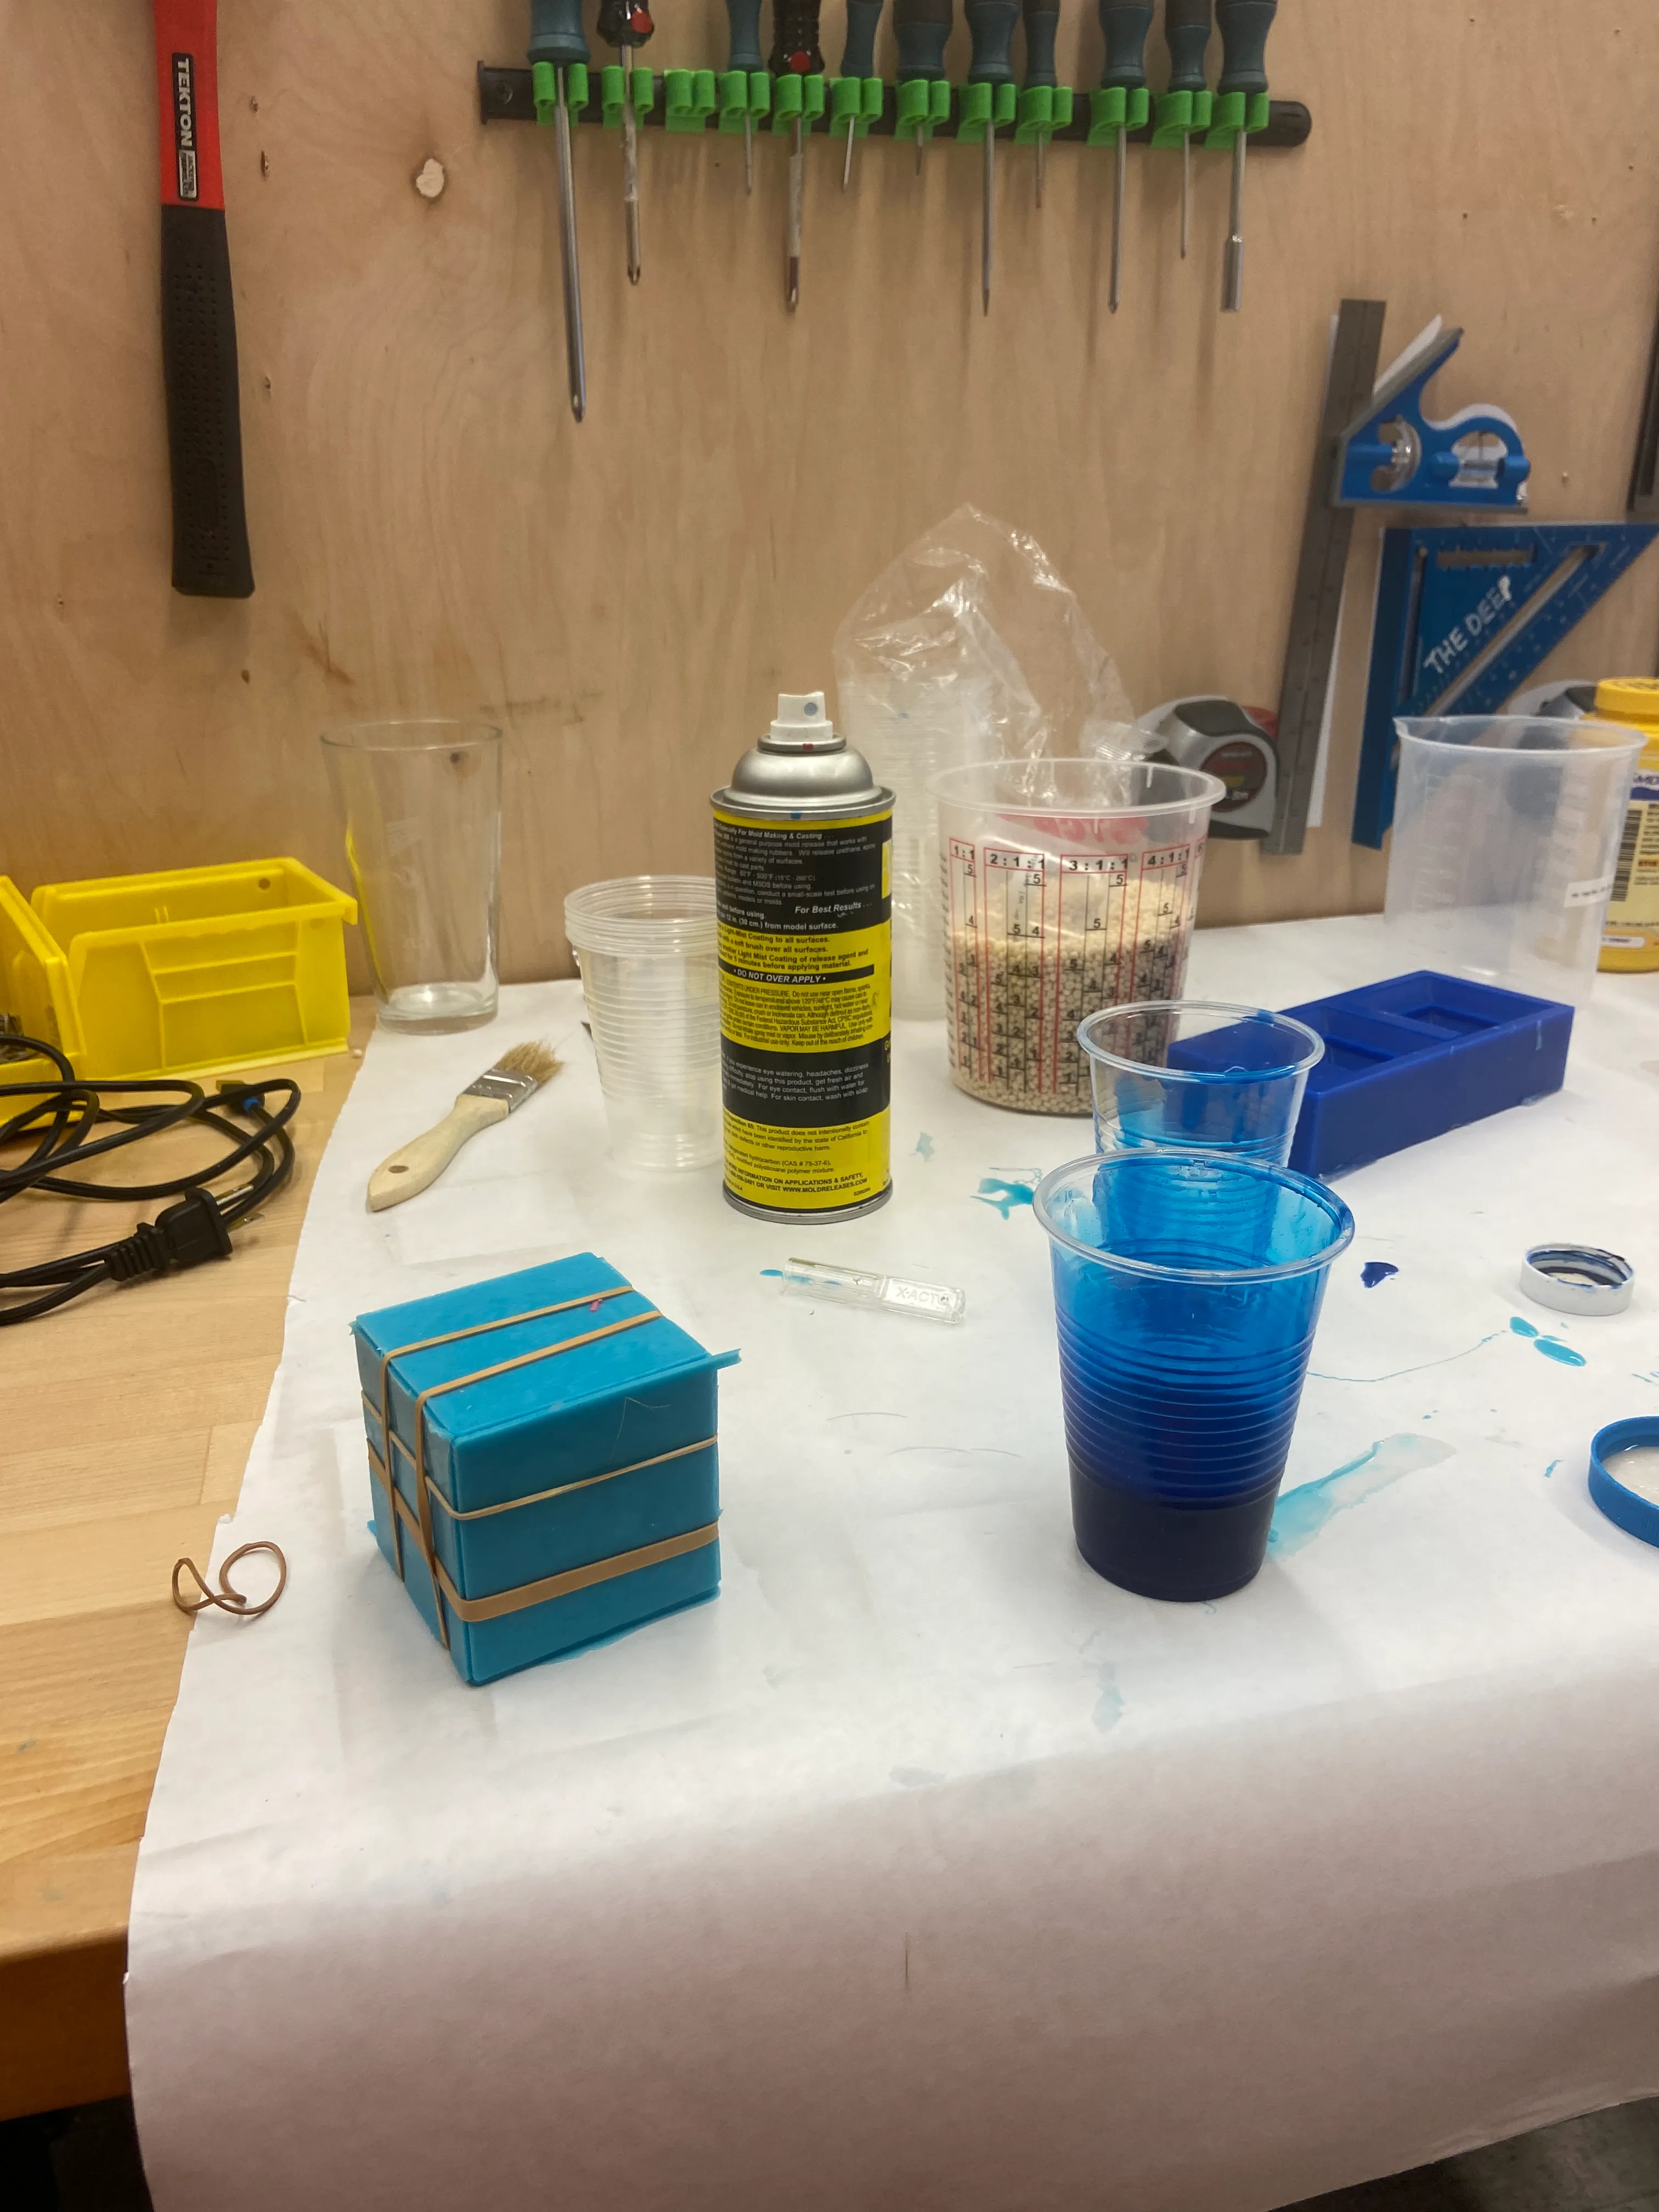 Casting material beside the mold
I poured it into the mold, and 24 hours later I took out my cube. It worked!