For my week 8 assignment for How to Make Almost Anything (HTMAA) (6.9020), I decided to mold a tesseract out of silicon. Specifically I wanted to explore multi-part molds and this would require six parts – one for each of cube's faces.
Inspiration
During class, Prof. Neil Gershenfeld showed us a previous student who molded a hypercube. However this wasn't the first time I had seen this mold. In The Deep, one of MIT's makerspaces there is a 3D printed version of this mold. I used to run a silicion mold training every week there, and it was the model people were most interested in especially the squishy version which works as a great stress toy. Unfortunally, the 3D printed mold is netoriously hard to get a good cube out of so I decided to try make my own hypercube I could use for my trainings.
The Plan
The whole process consisted of:
- CADing the hypercube in Fusion 360
- Generating the negative of the hypercube
- Cutting the negative out of a block of wax on a router
- Molding the cube with silicion
Designing the Tesseract
To begin I designed the two cubes in Fusion being careful to use parameters for the sizes and thickness to make it easy to change in the future.
 Cube inside another cube
Next I drew a line connecting the bottom corner to a top corner and created a pipe with a rectangular cross section.
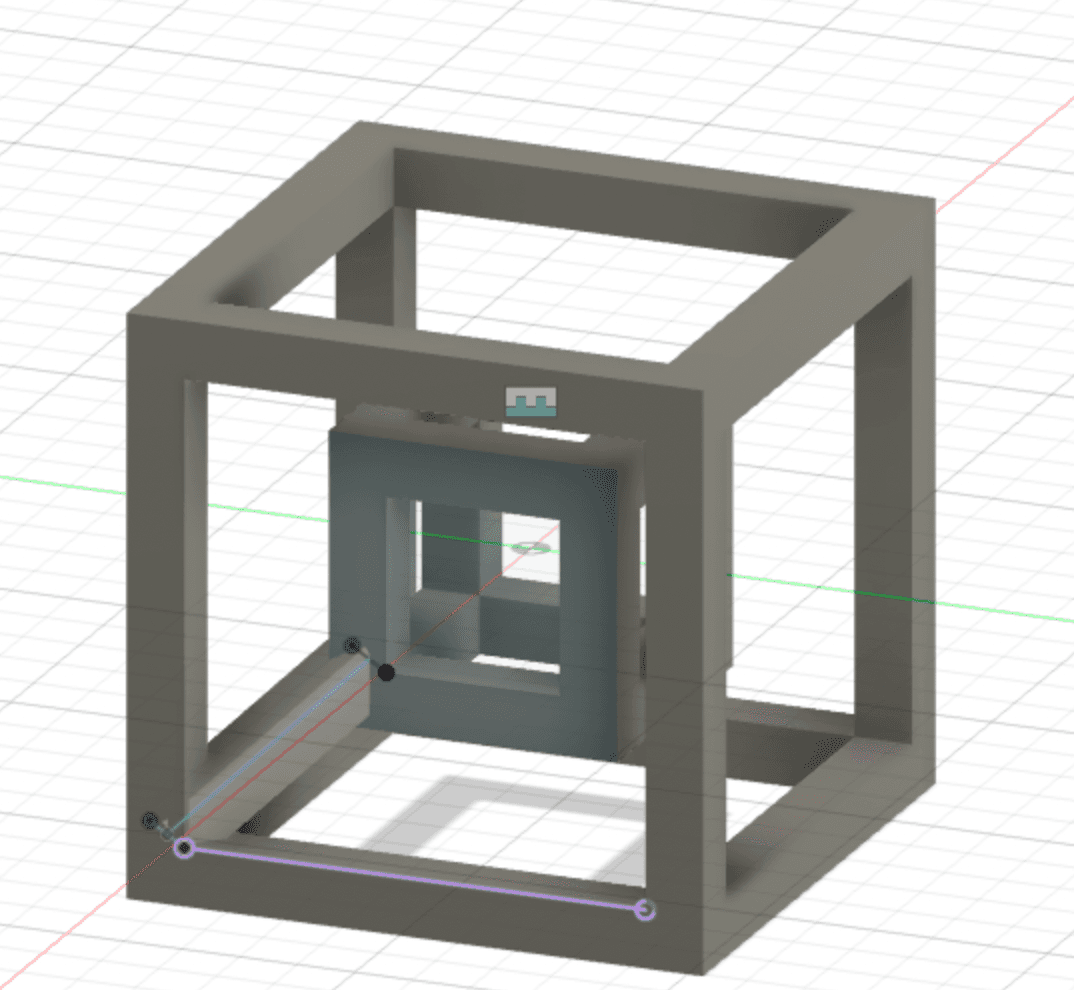 Cube with an arm
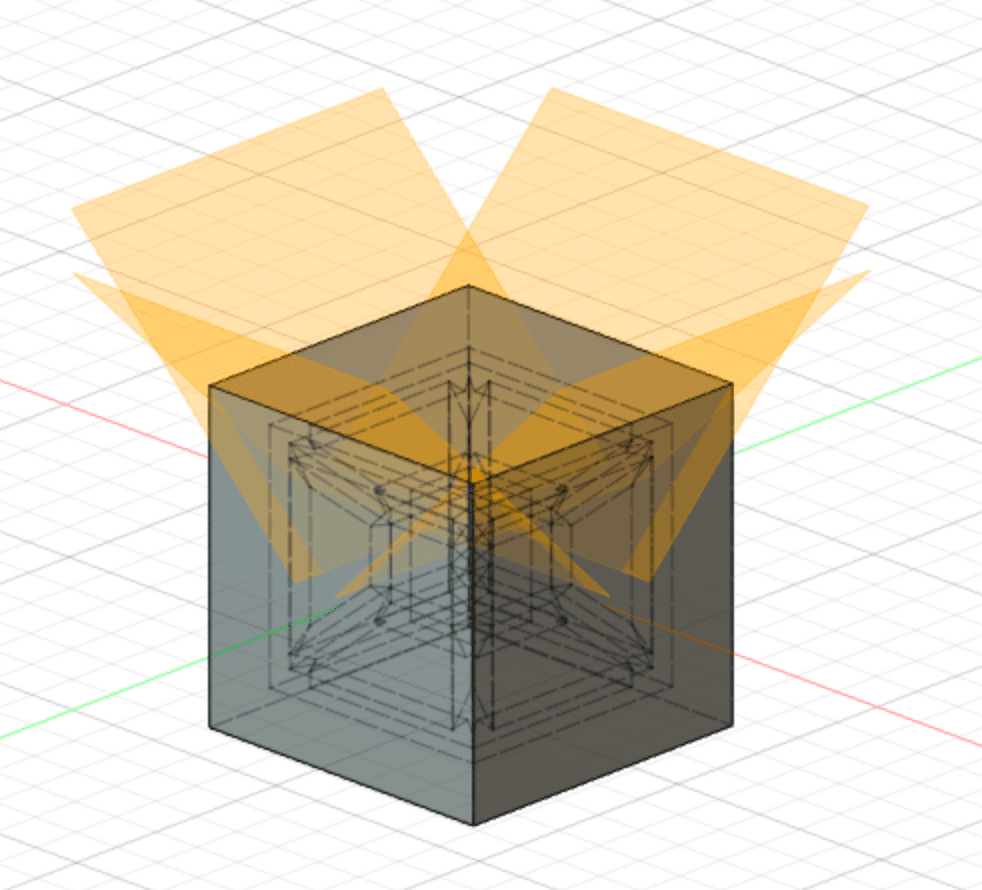
Then I circulated patterned and mirrored with arm to make 8 of them in total and get the finished cube
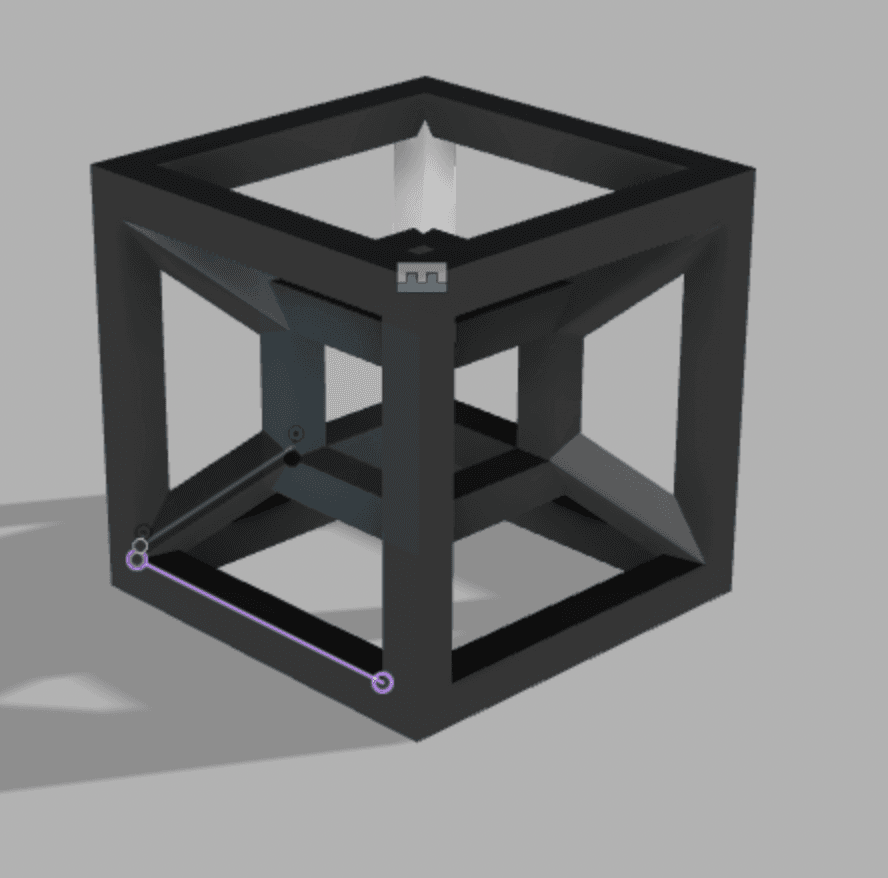 Finished cube
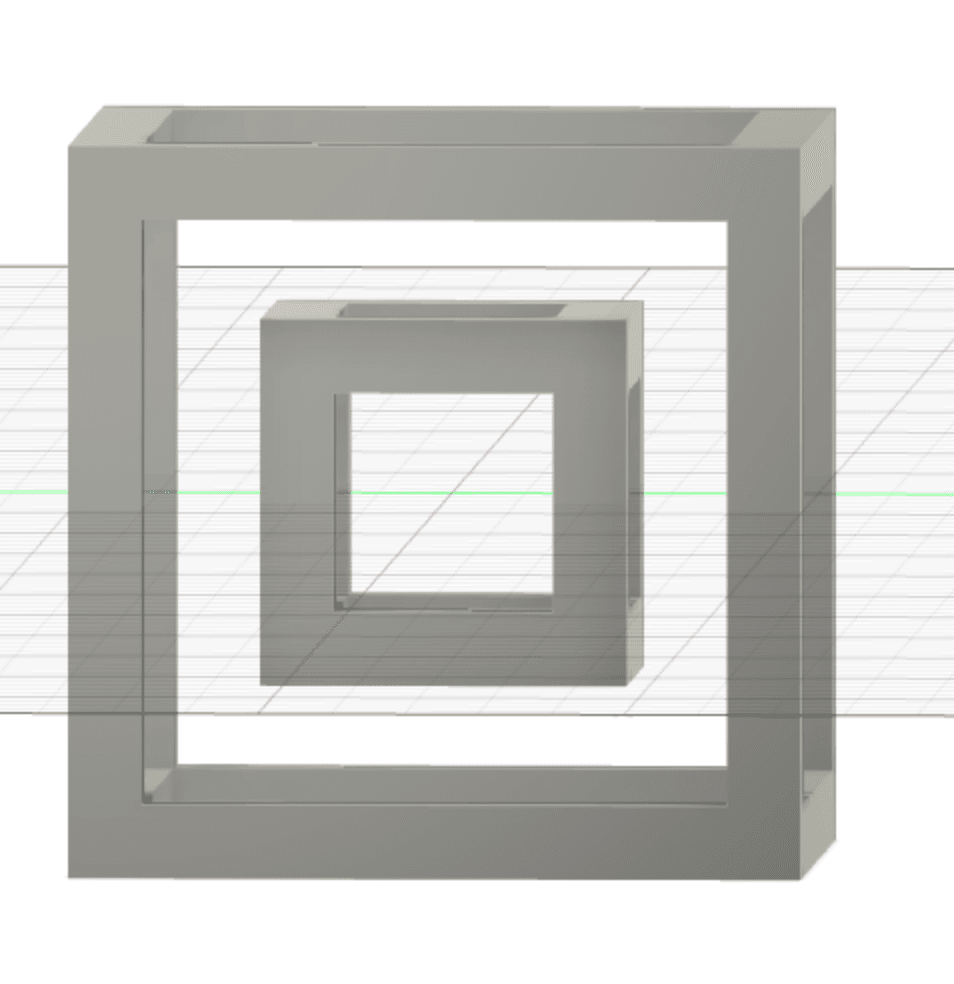
Of course, to mold the cube I actually need the negative of the space being taken up by my hypercube. I needed 6 parts – one for each face. I created a cube that was 10mm larger in width than mine and placed my hypercube inside. Then I used the Combine feature in Fusion to cut out my Hypercube from the block.
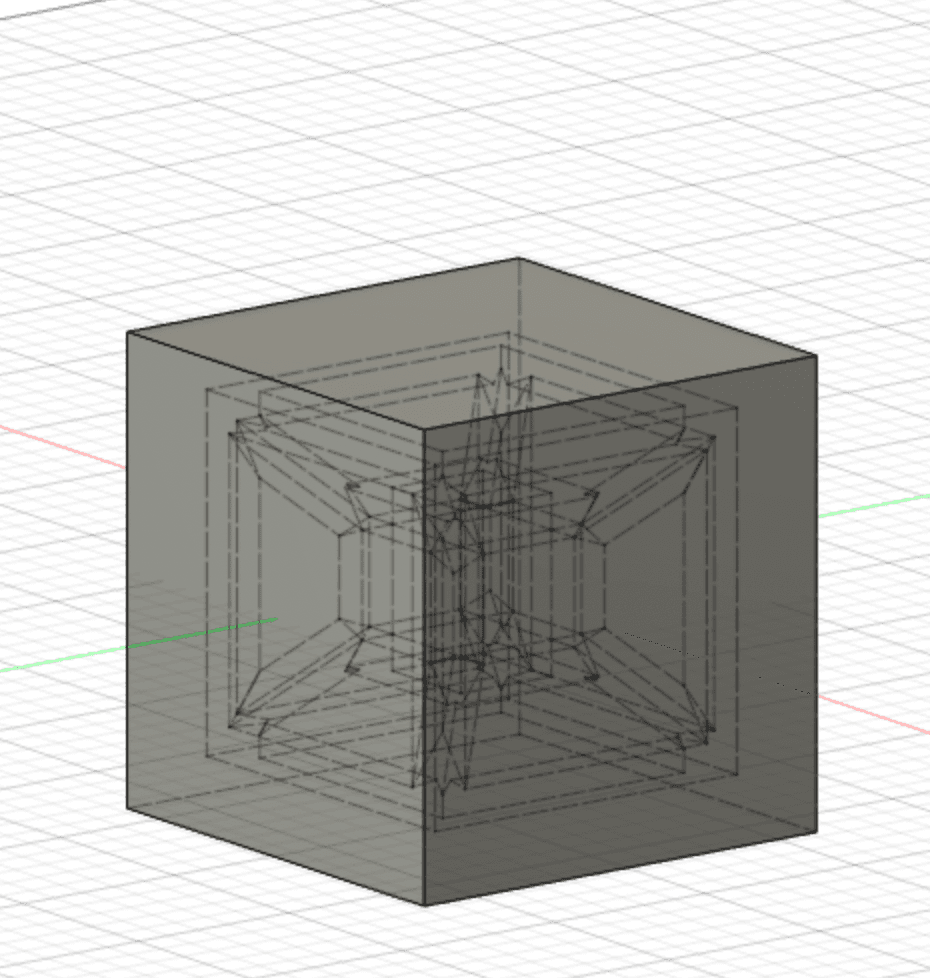 Cube with hypercube cut out
Then I created 4 planes each at a 45 degree angle cutting through the block to divide the block into 6 different pieces
 Cube with 4 planes
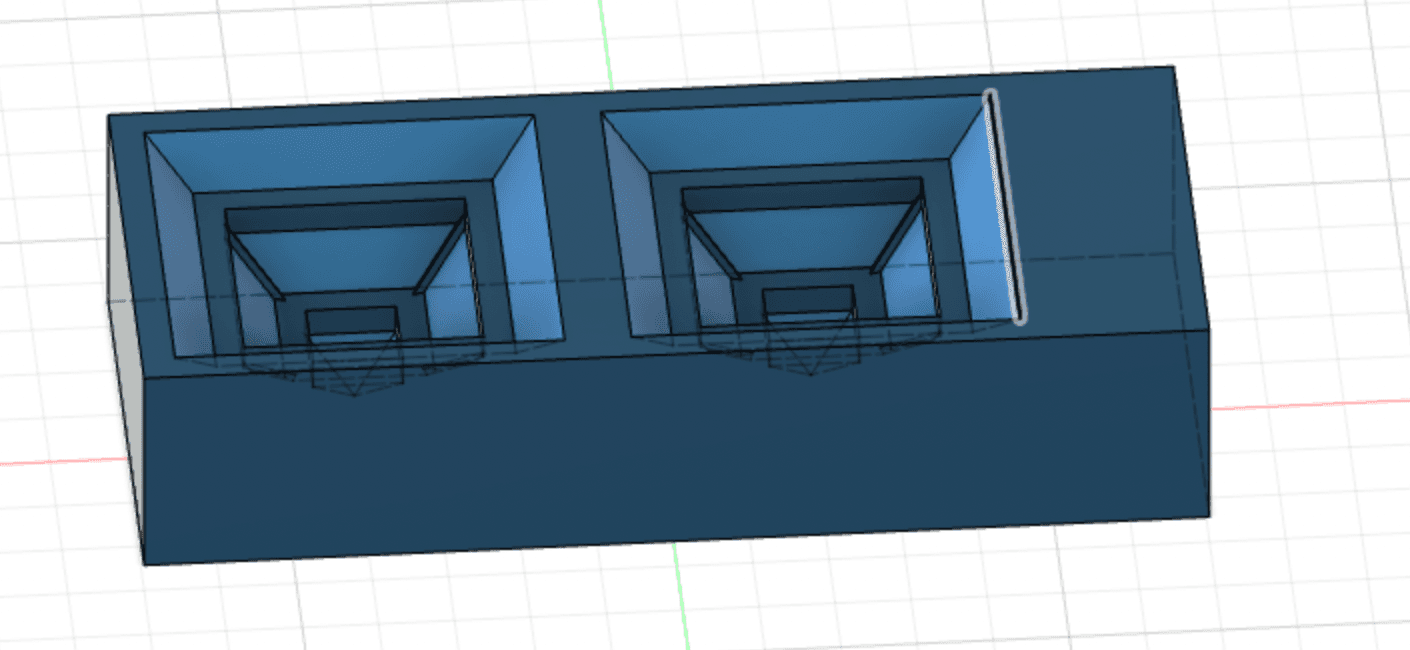
Which gave me the piece I needed to mold
 Negative of cube to mold
CAMing and Cutting
I was given a 1.5"x3"x7" block of wax to cut my negative out of. I used the Shopbot CNC router which first required for me to create a setup file in Fusion 360.
I created a new Fusion file where I made block of wax. Then I inserted my hypercube negative and cut it out of the block.
 Wax with cube cutout
Then I switched to the manufacturing view and created a setup file. I first used an adaptive clearing and then a flat facing before switching to the contour finishing operation.
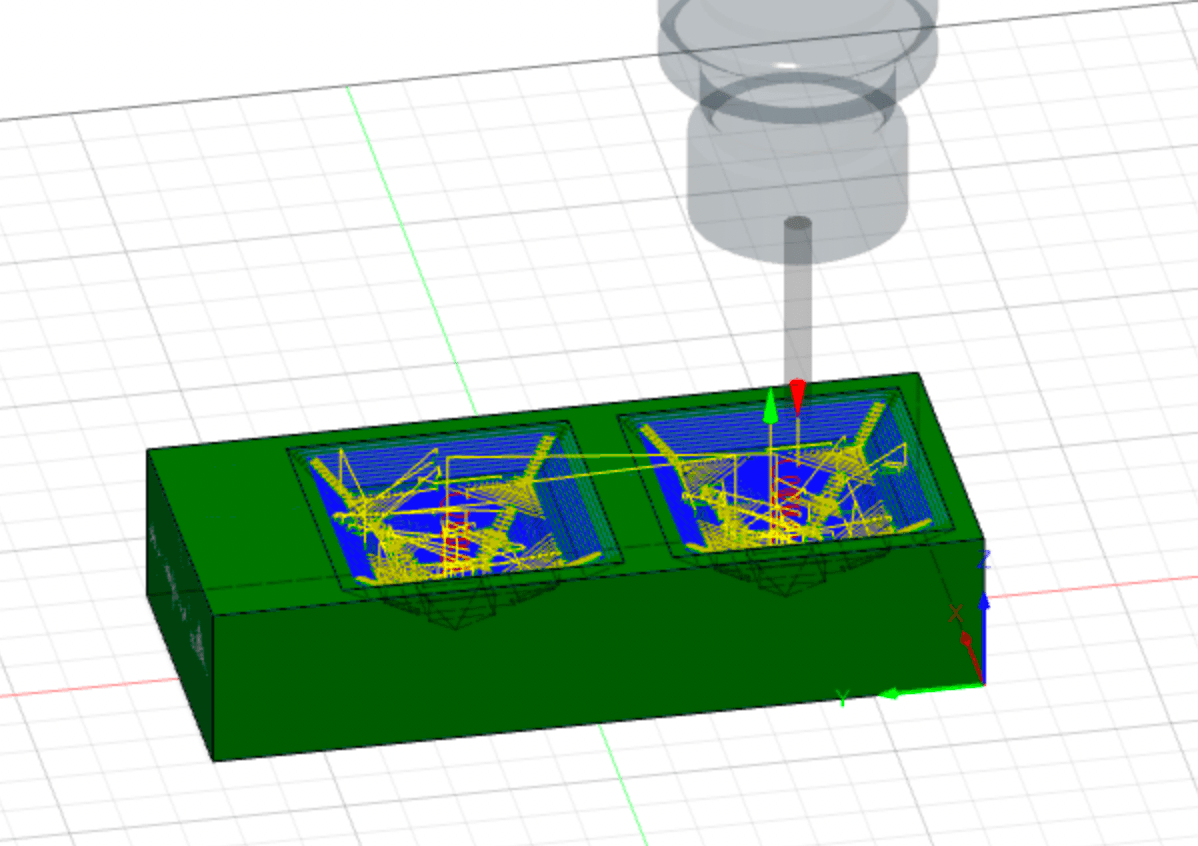 Adaptive clearing operation
Then I cut the block on the CNC router
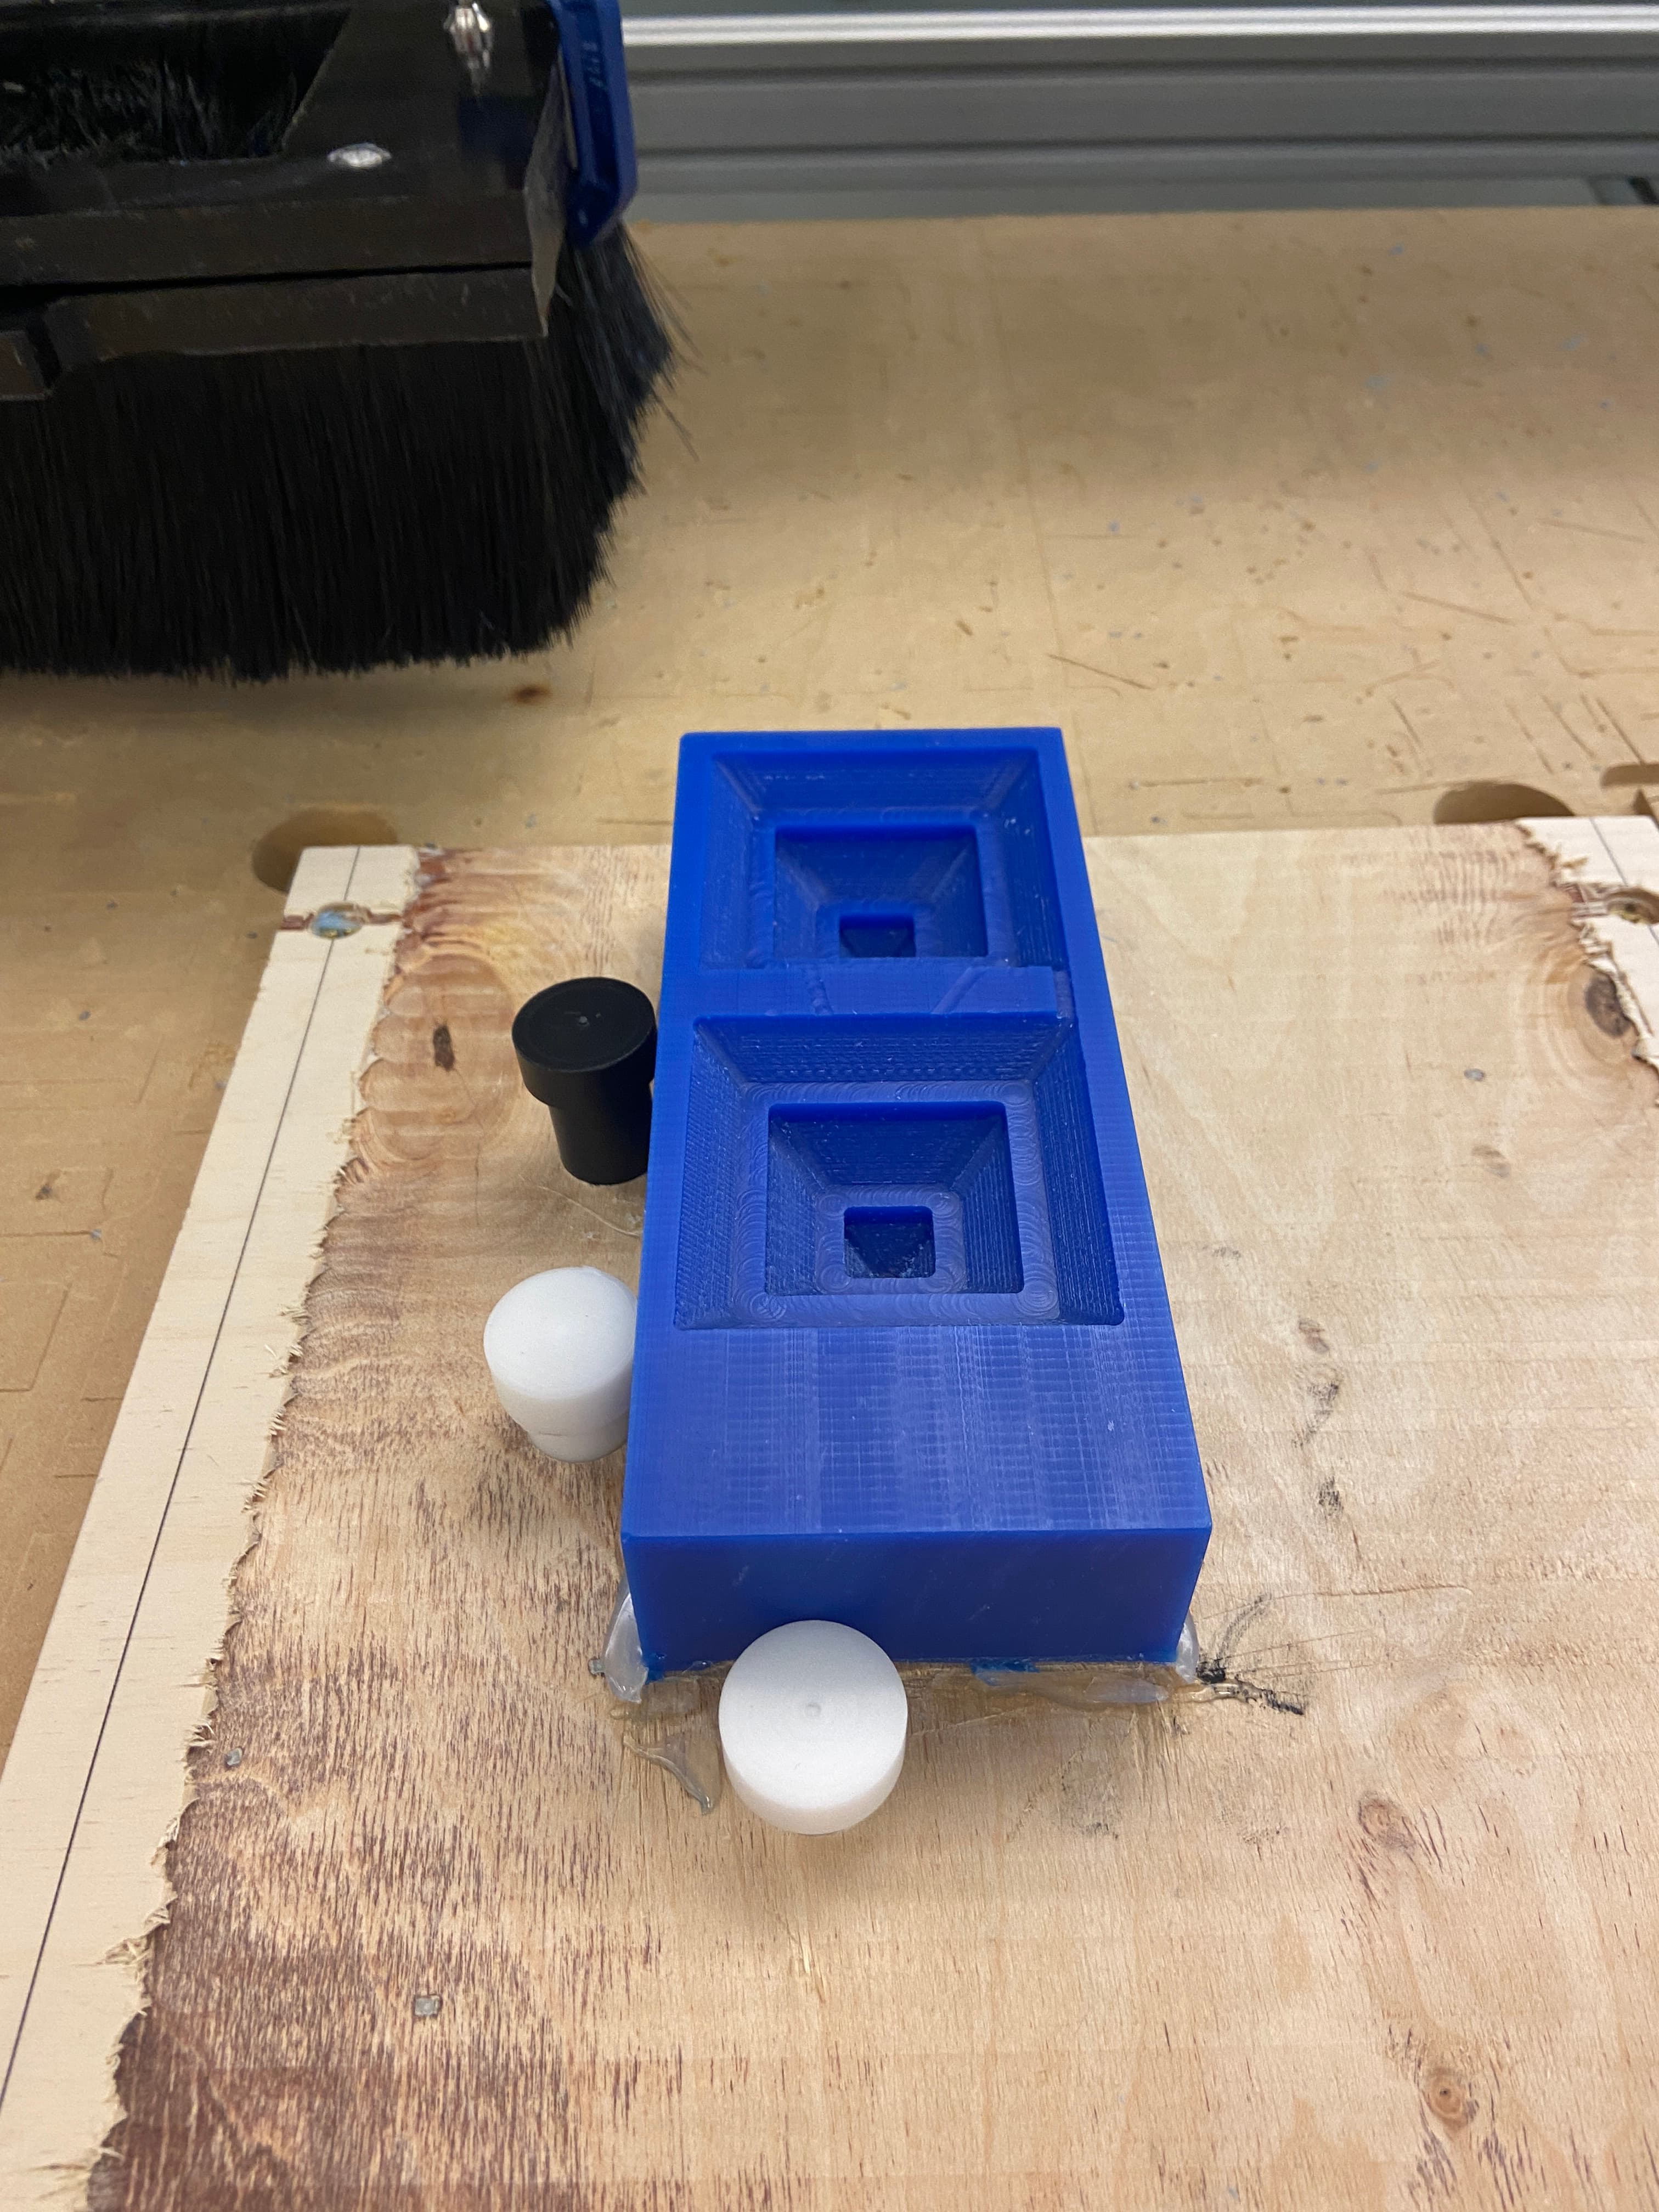 Wax block after being cut by Router
Molding the block
Since this was a 6-part mold I was pretty worried about getting it all done in time. Oomoo has a cure time of around 2 hours and my block only let's me mold 2 at a go so it would of taken a minimum of 6 hours just to make the mold to cast the cube in. Instead I went over to The Deep which had Mold Star which has a cure time of only 30 minute.
Firsly to figure out the volume of material I needed for my mold I placed some Cous Cous into the block.
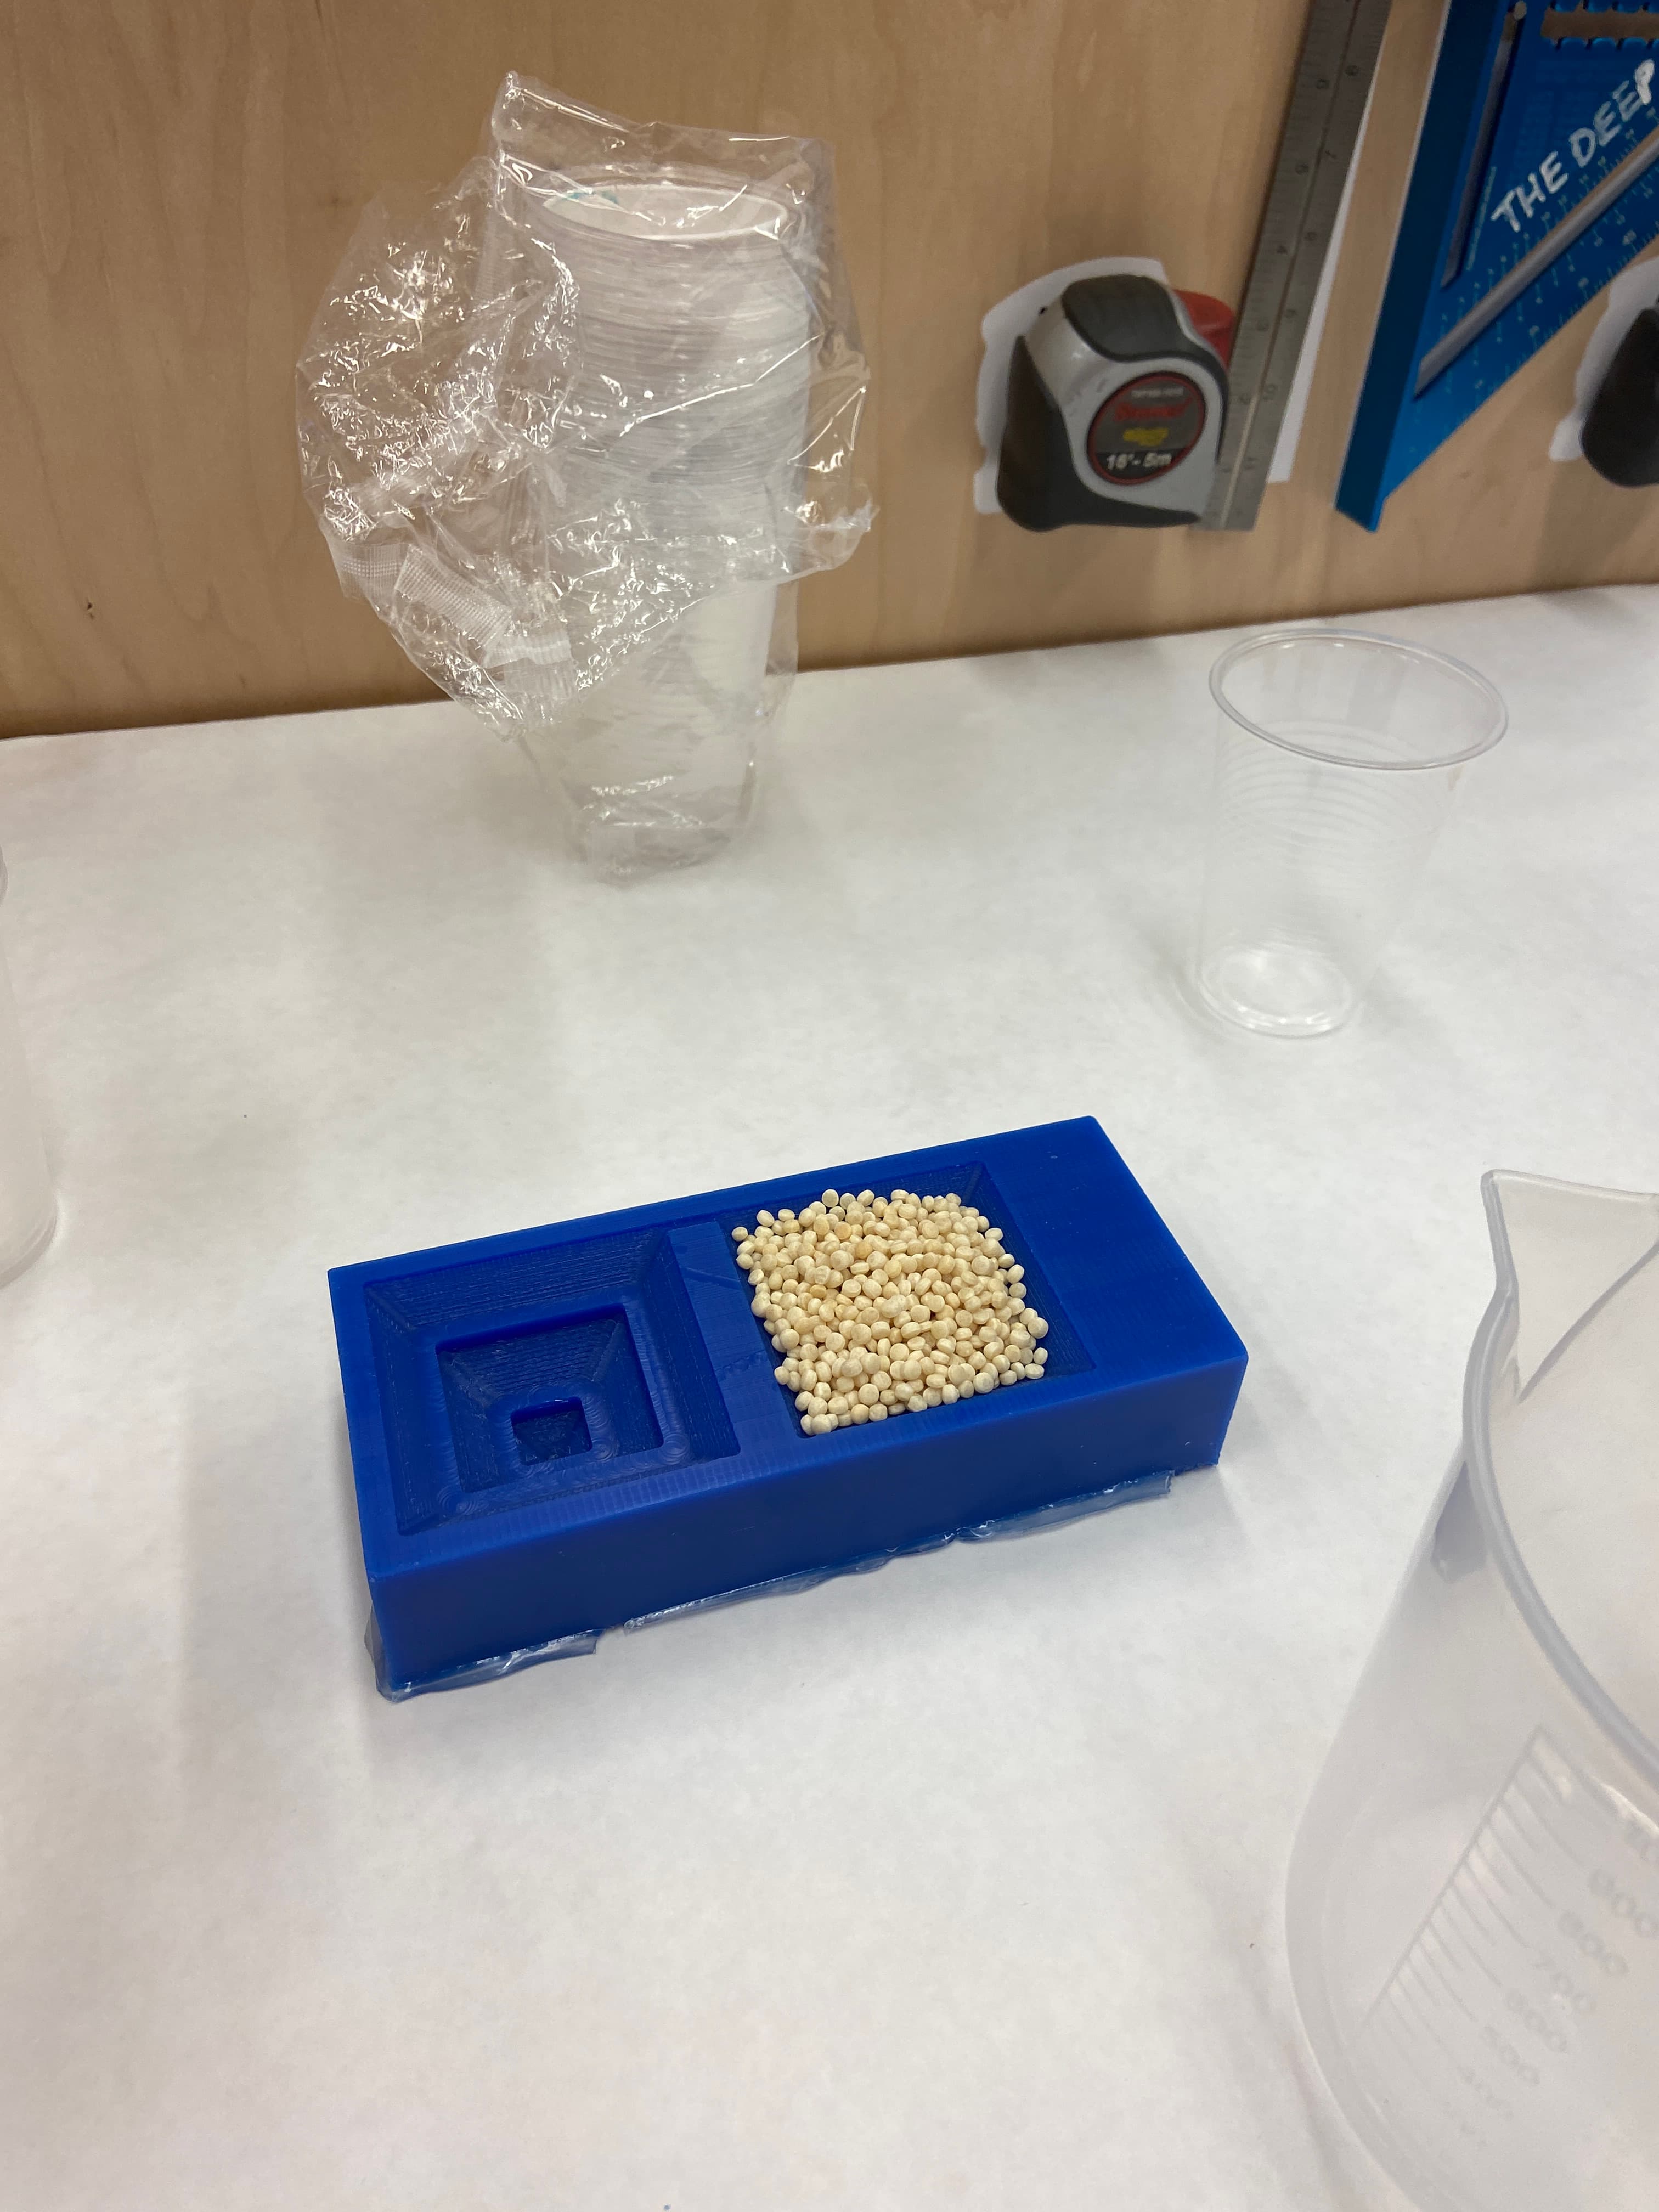 Using CousCous to measure volume of wax mold
Then I got my Part A and Part B of MoldStar and mixed them together. Unfortunally, Mold Star has a pot time of 6 minutes so I wasn't able to take any photos! After 30 minutes, I took out the mold and it was a success.
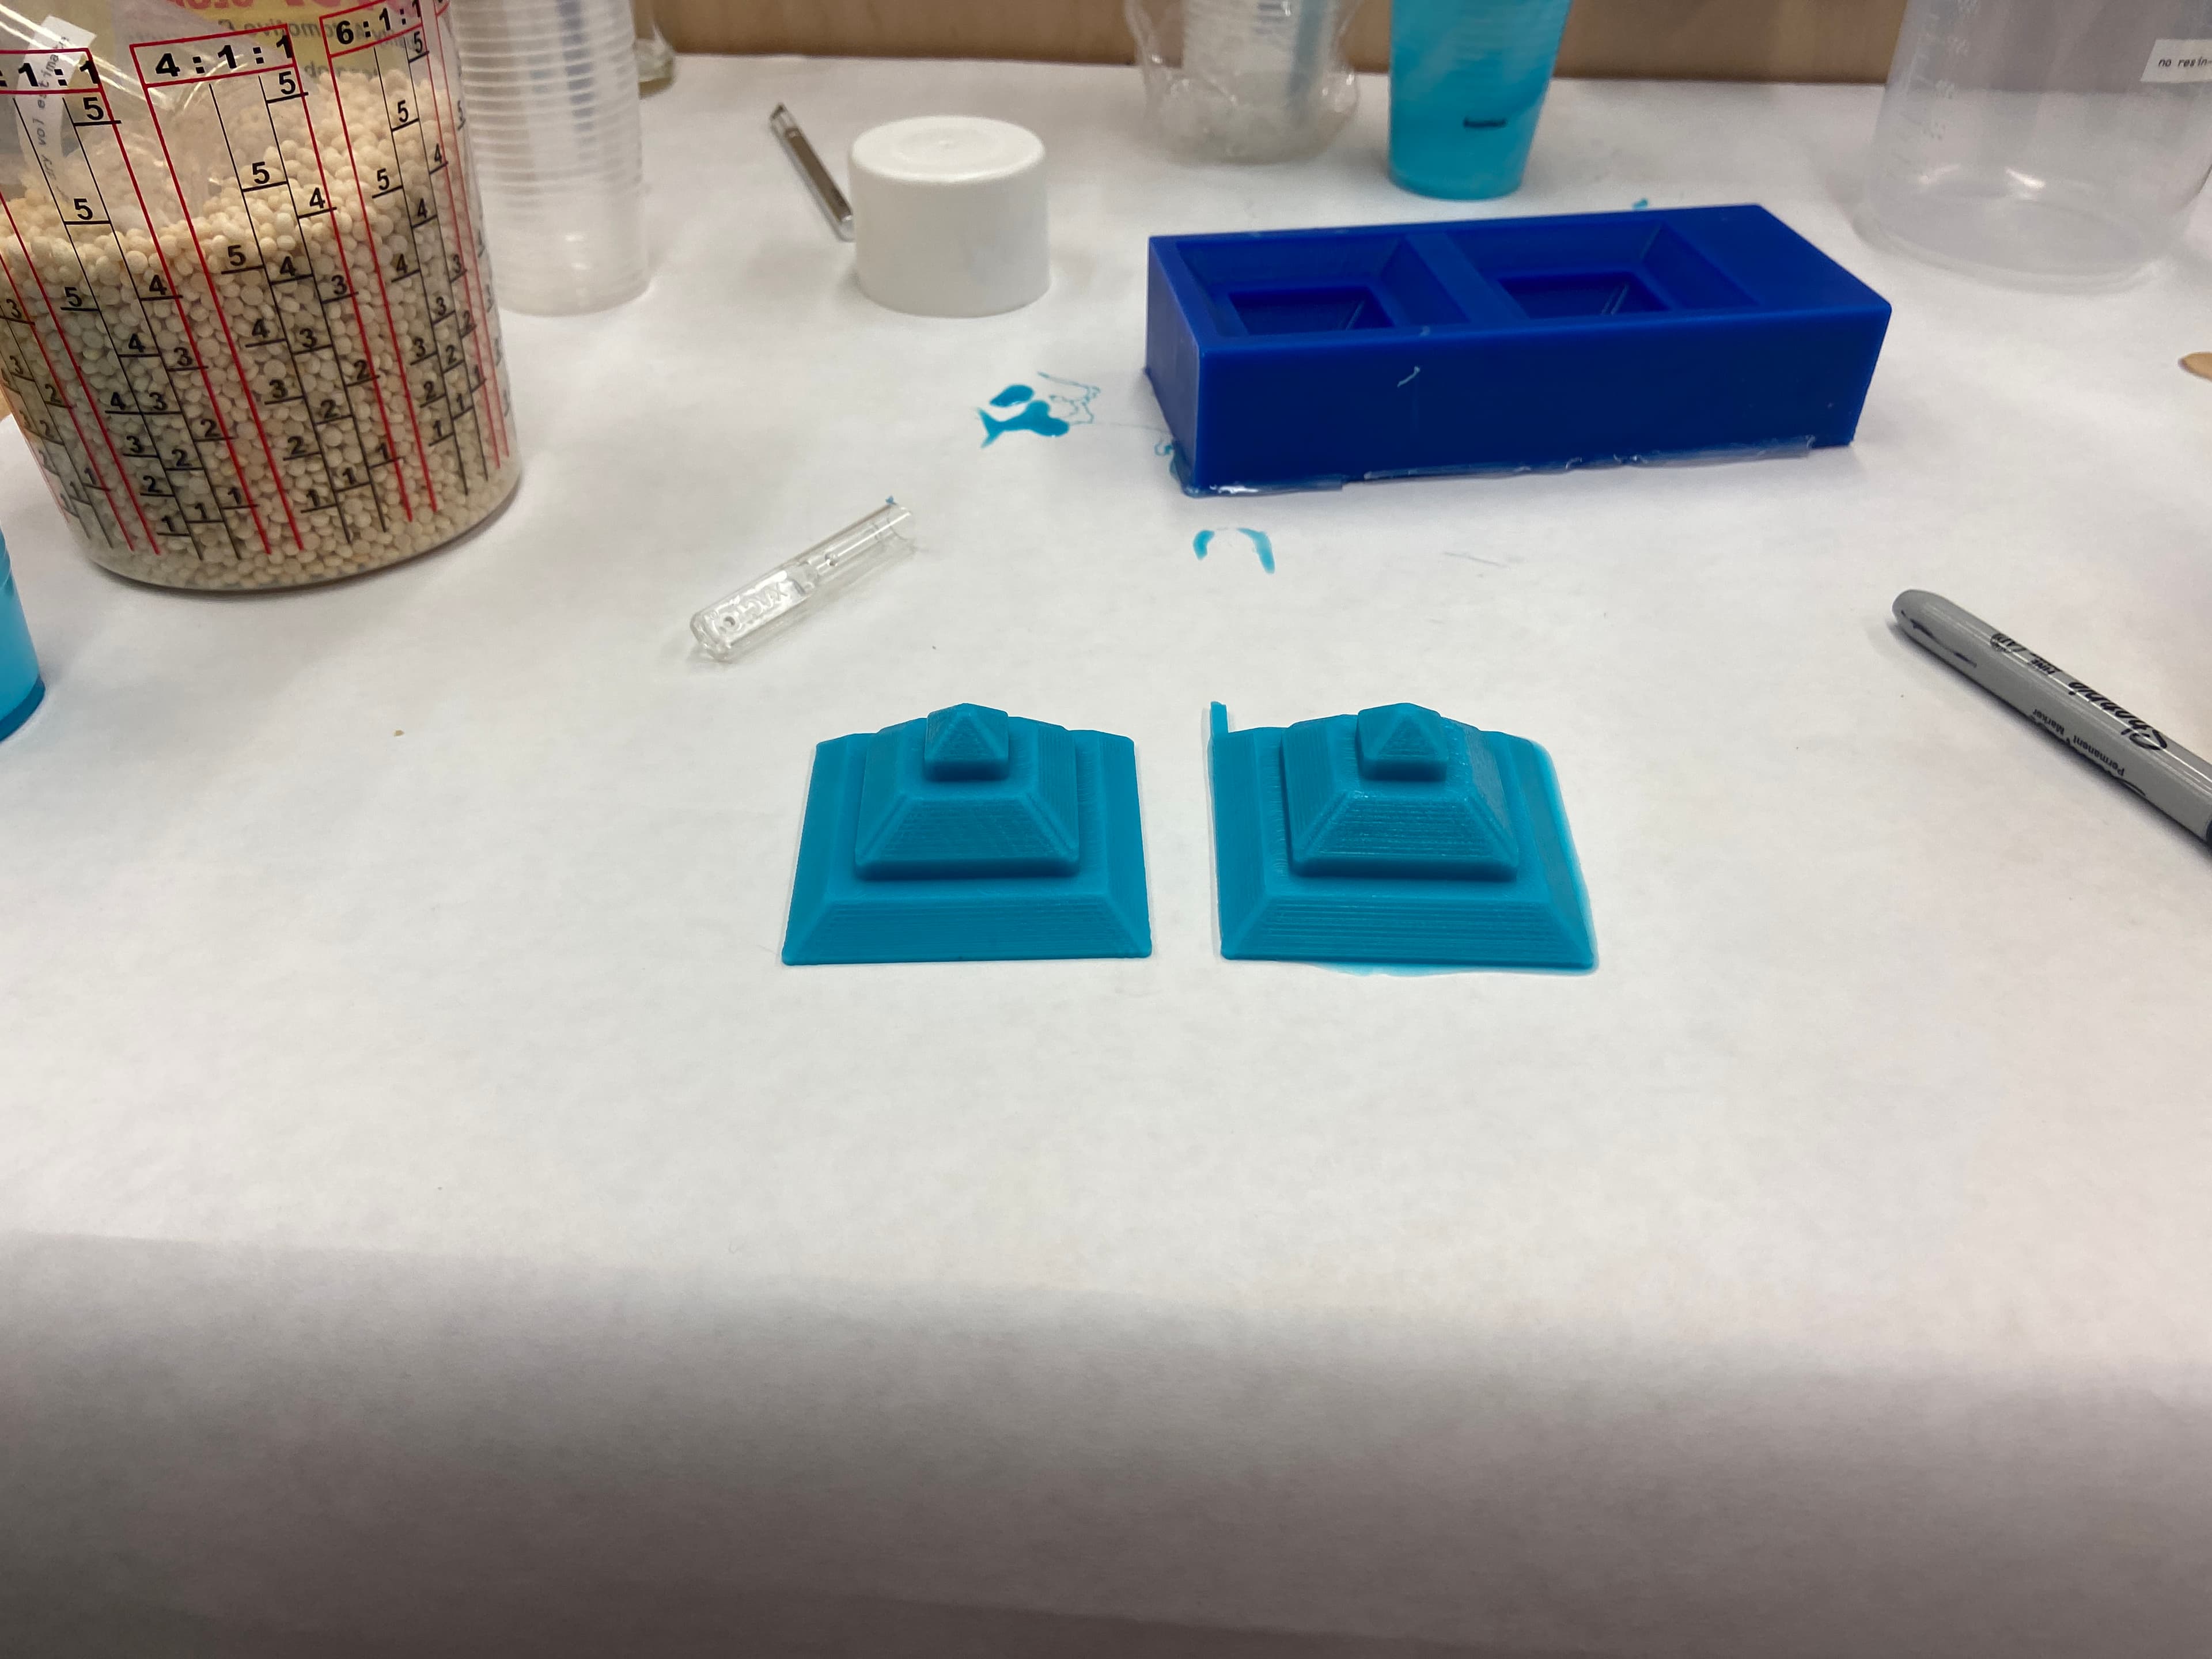 Two molded cube sides
I repeated this process 2 more times to get my 6 pieces
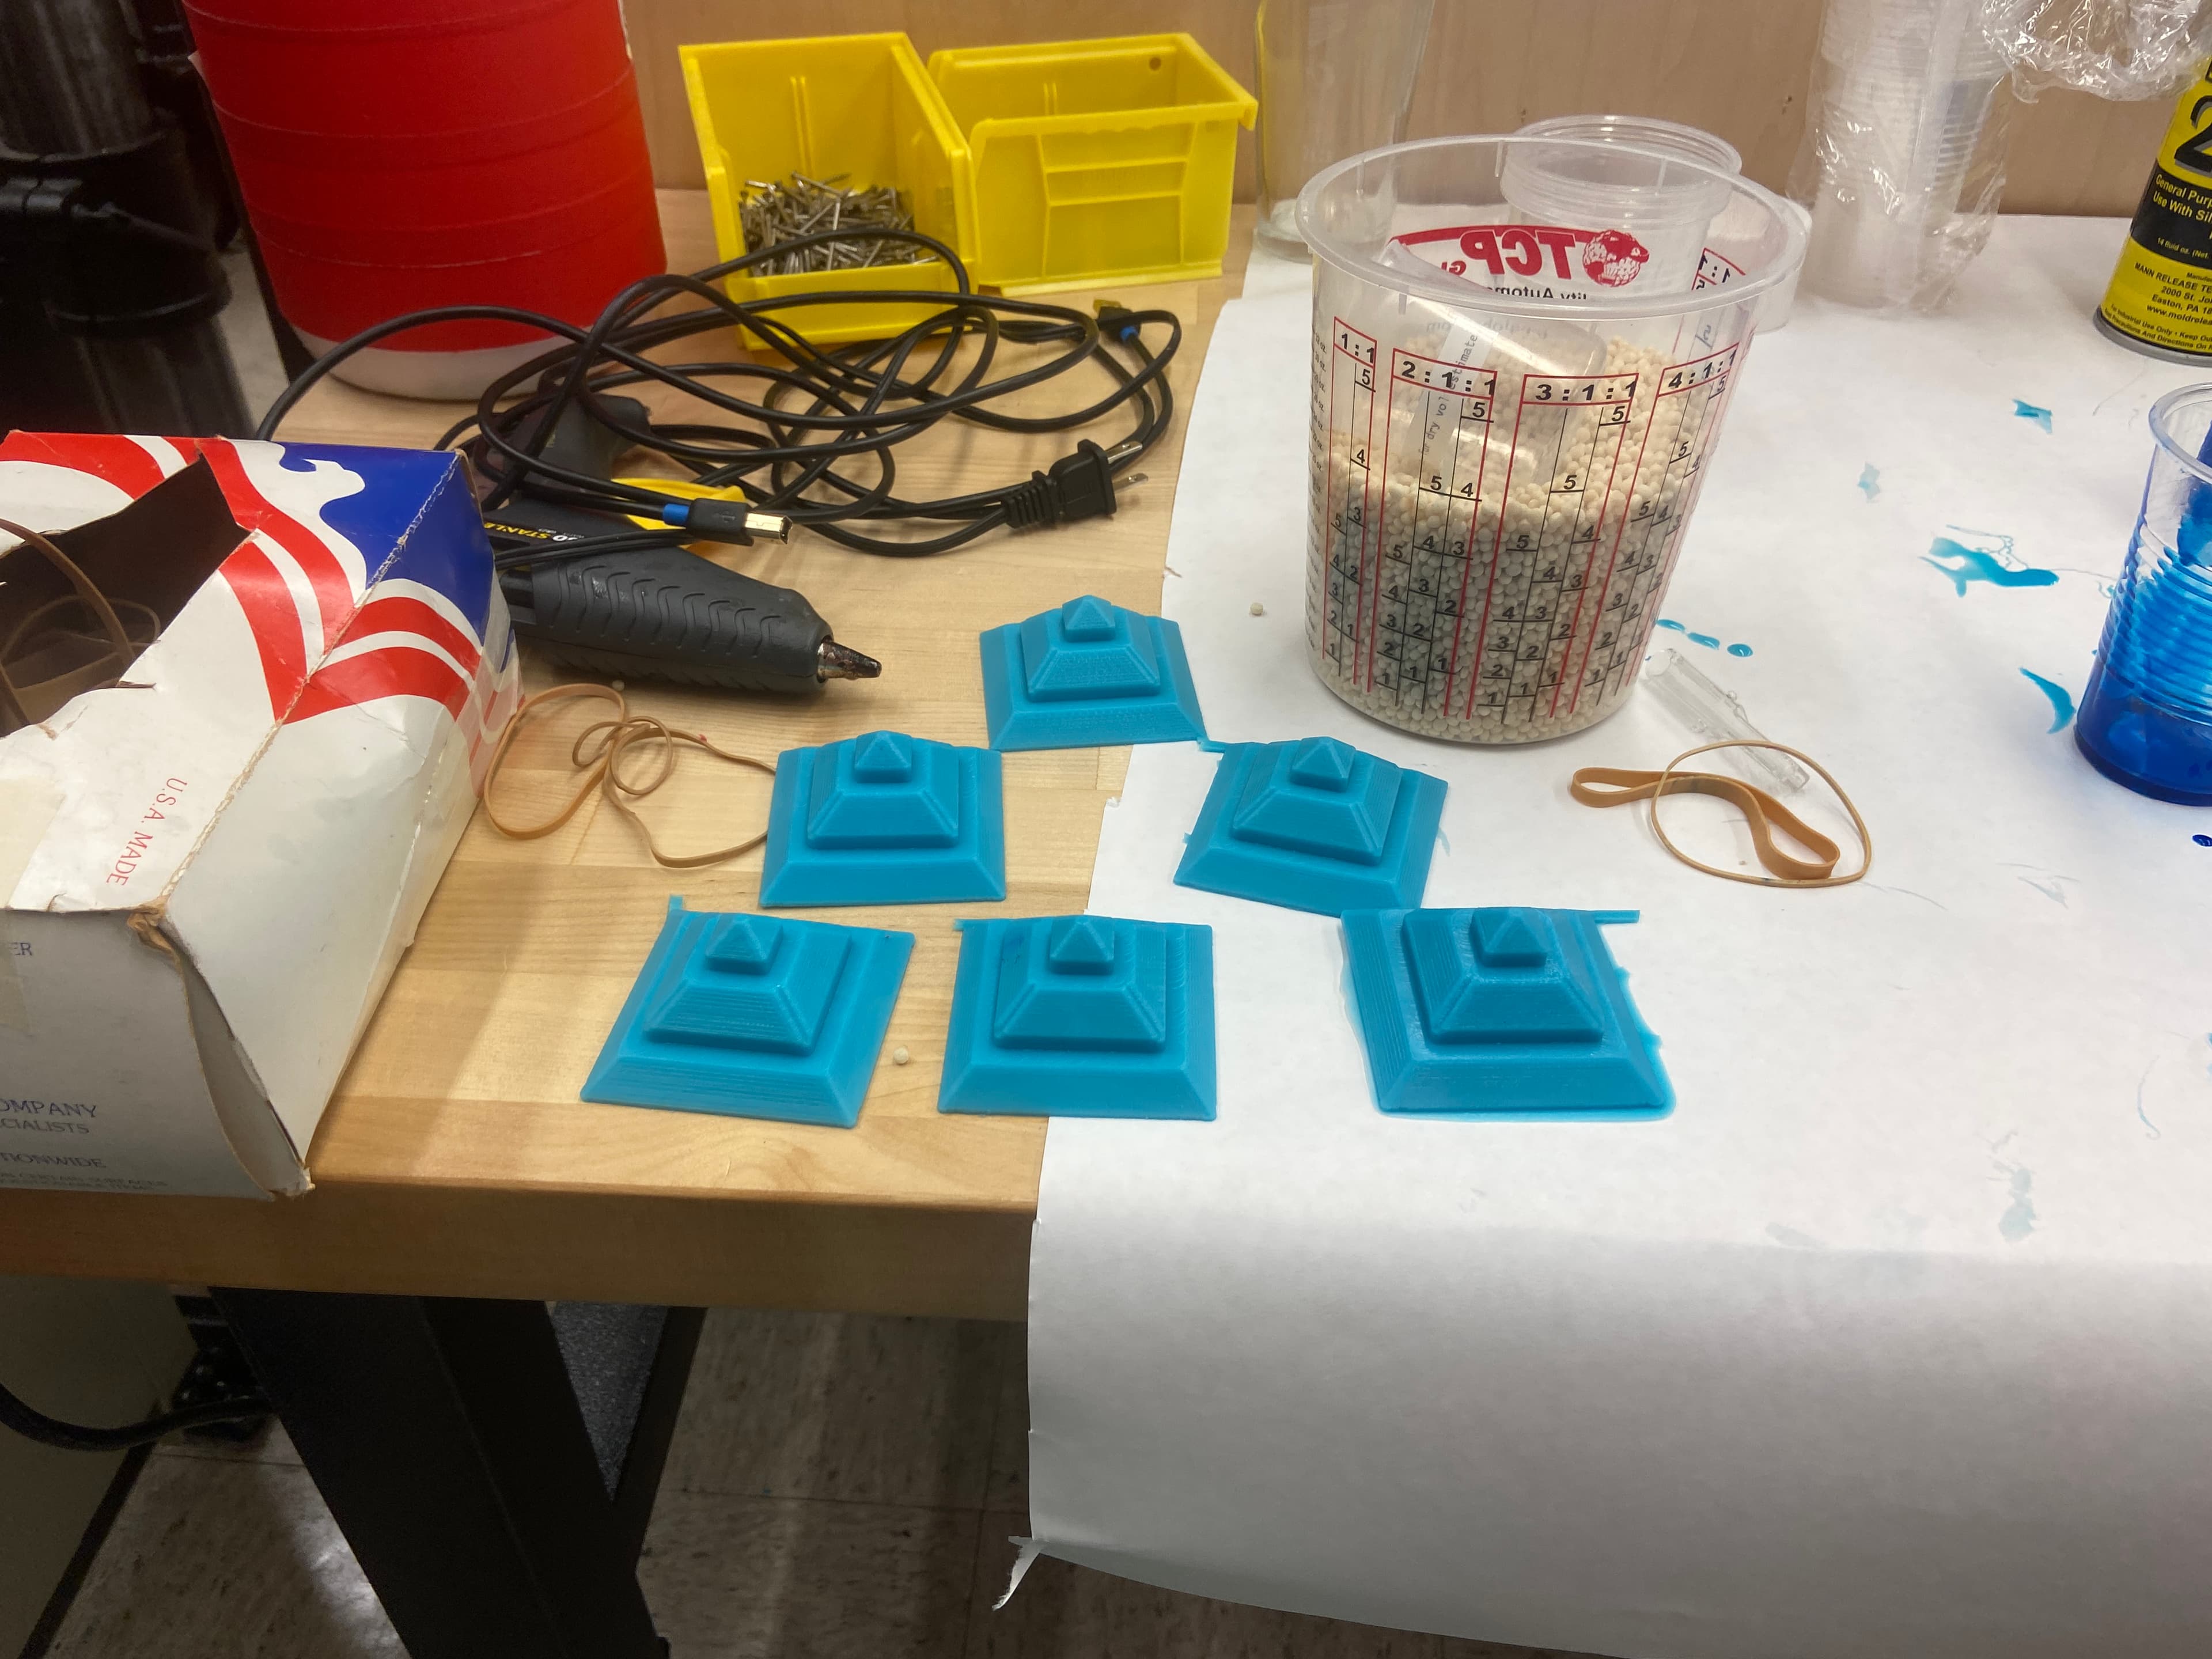 Two molded cube sides
Casting the cube
With my 6 pieces I could now, finally, mold my hypercube. I first applied mold release to all my pieces and then used elastic bands to form a cube shape.
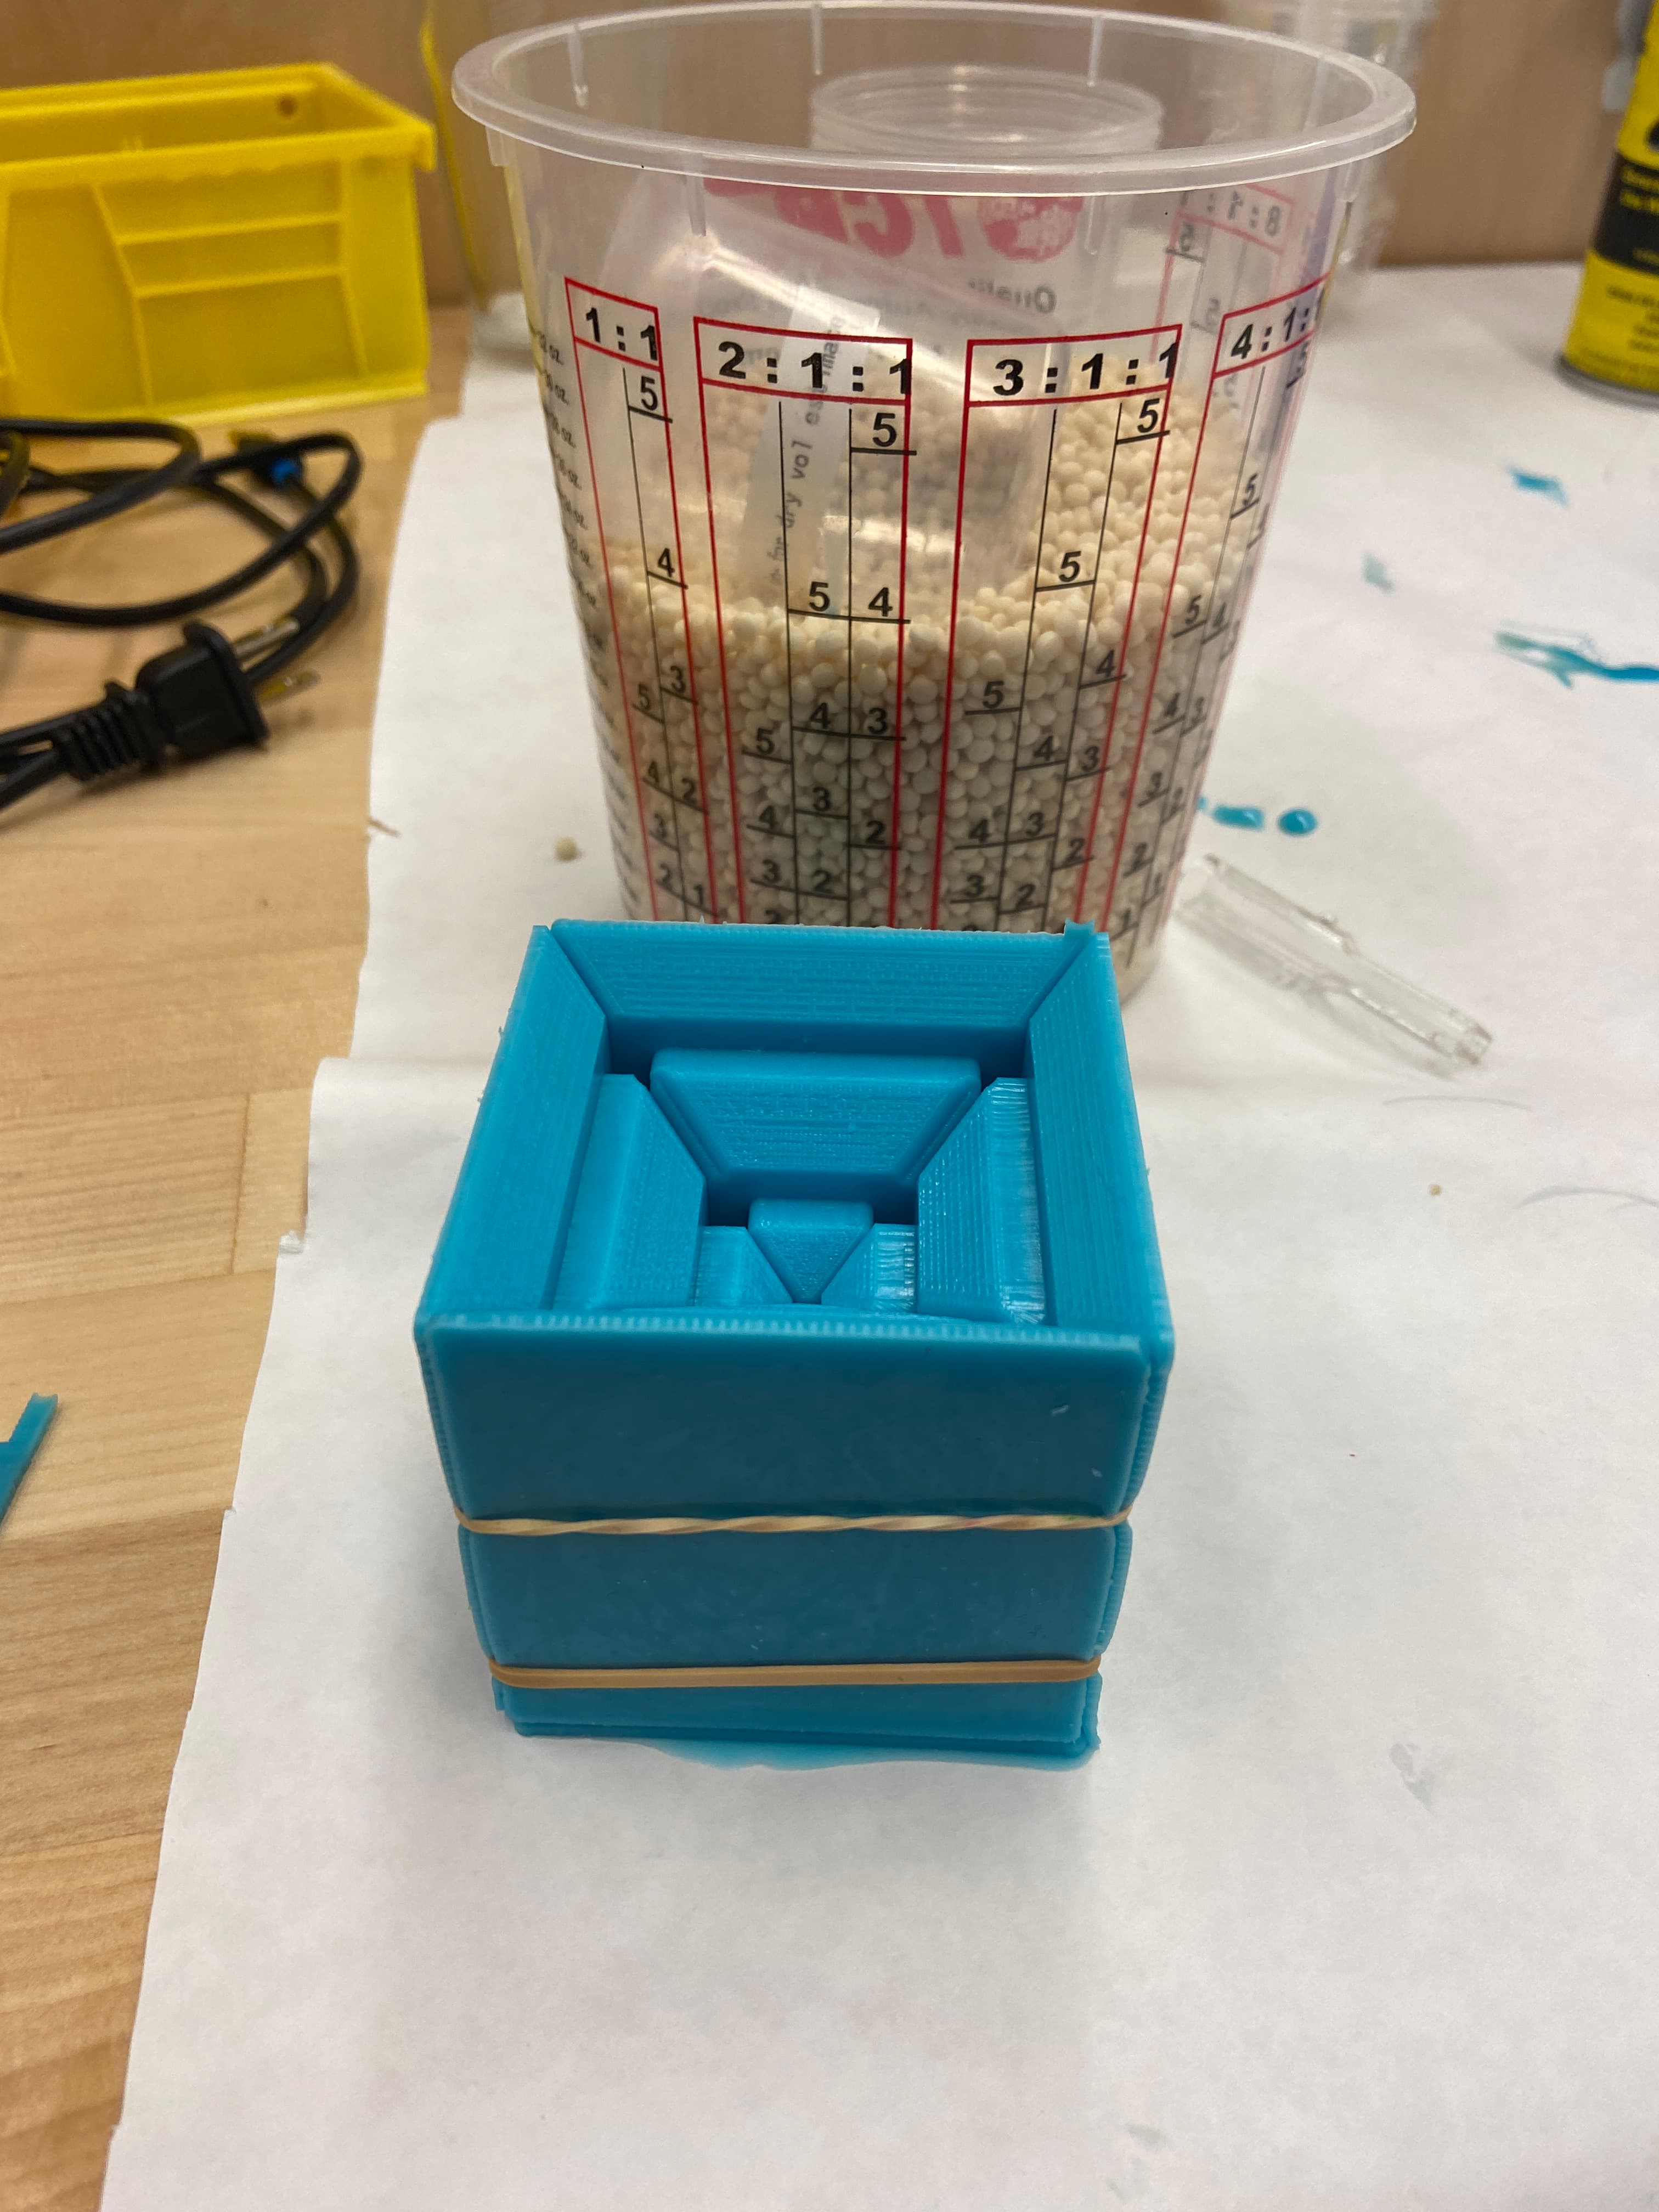 Assembled molded cube
Then I got Part A and Part B of Dragon Skin, another Silicion, and mixed these together with some blue dye and glitter for effect. I then degassed this mixture in a vaccum chamber.
 Casting material beside cube
Finally, I poured this mixture into my mold. After 24 hours I was able to take out my cube and it was a success!
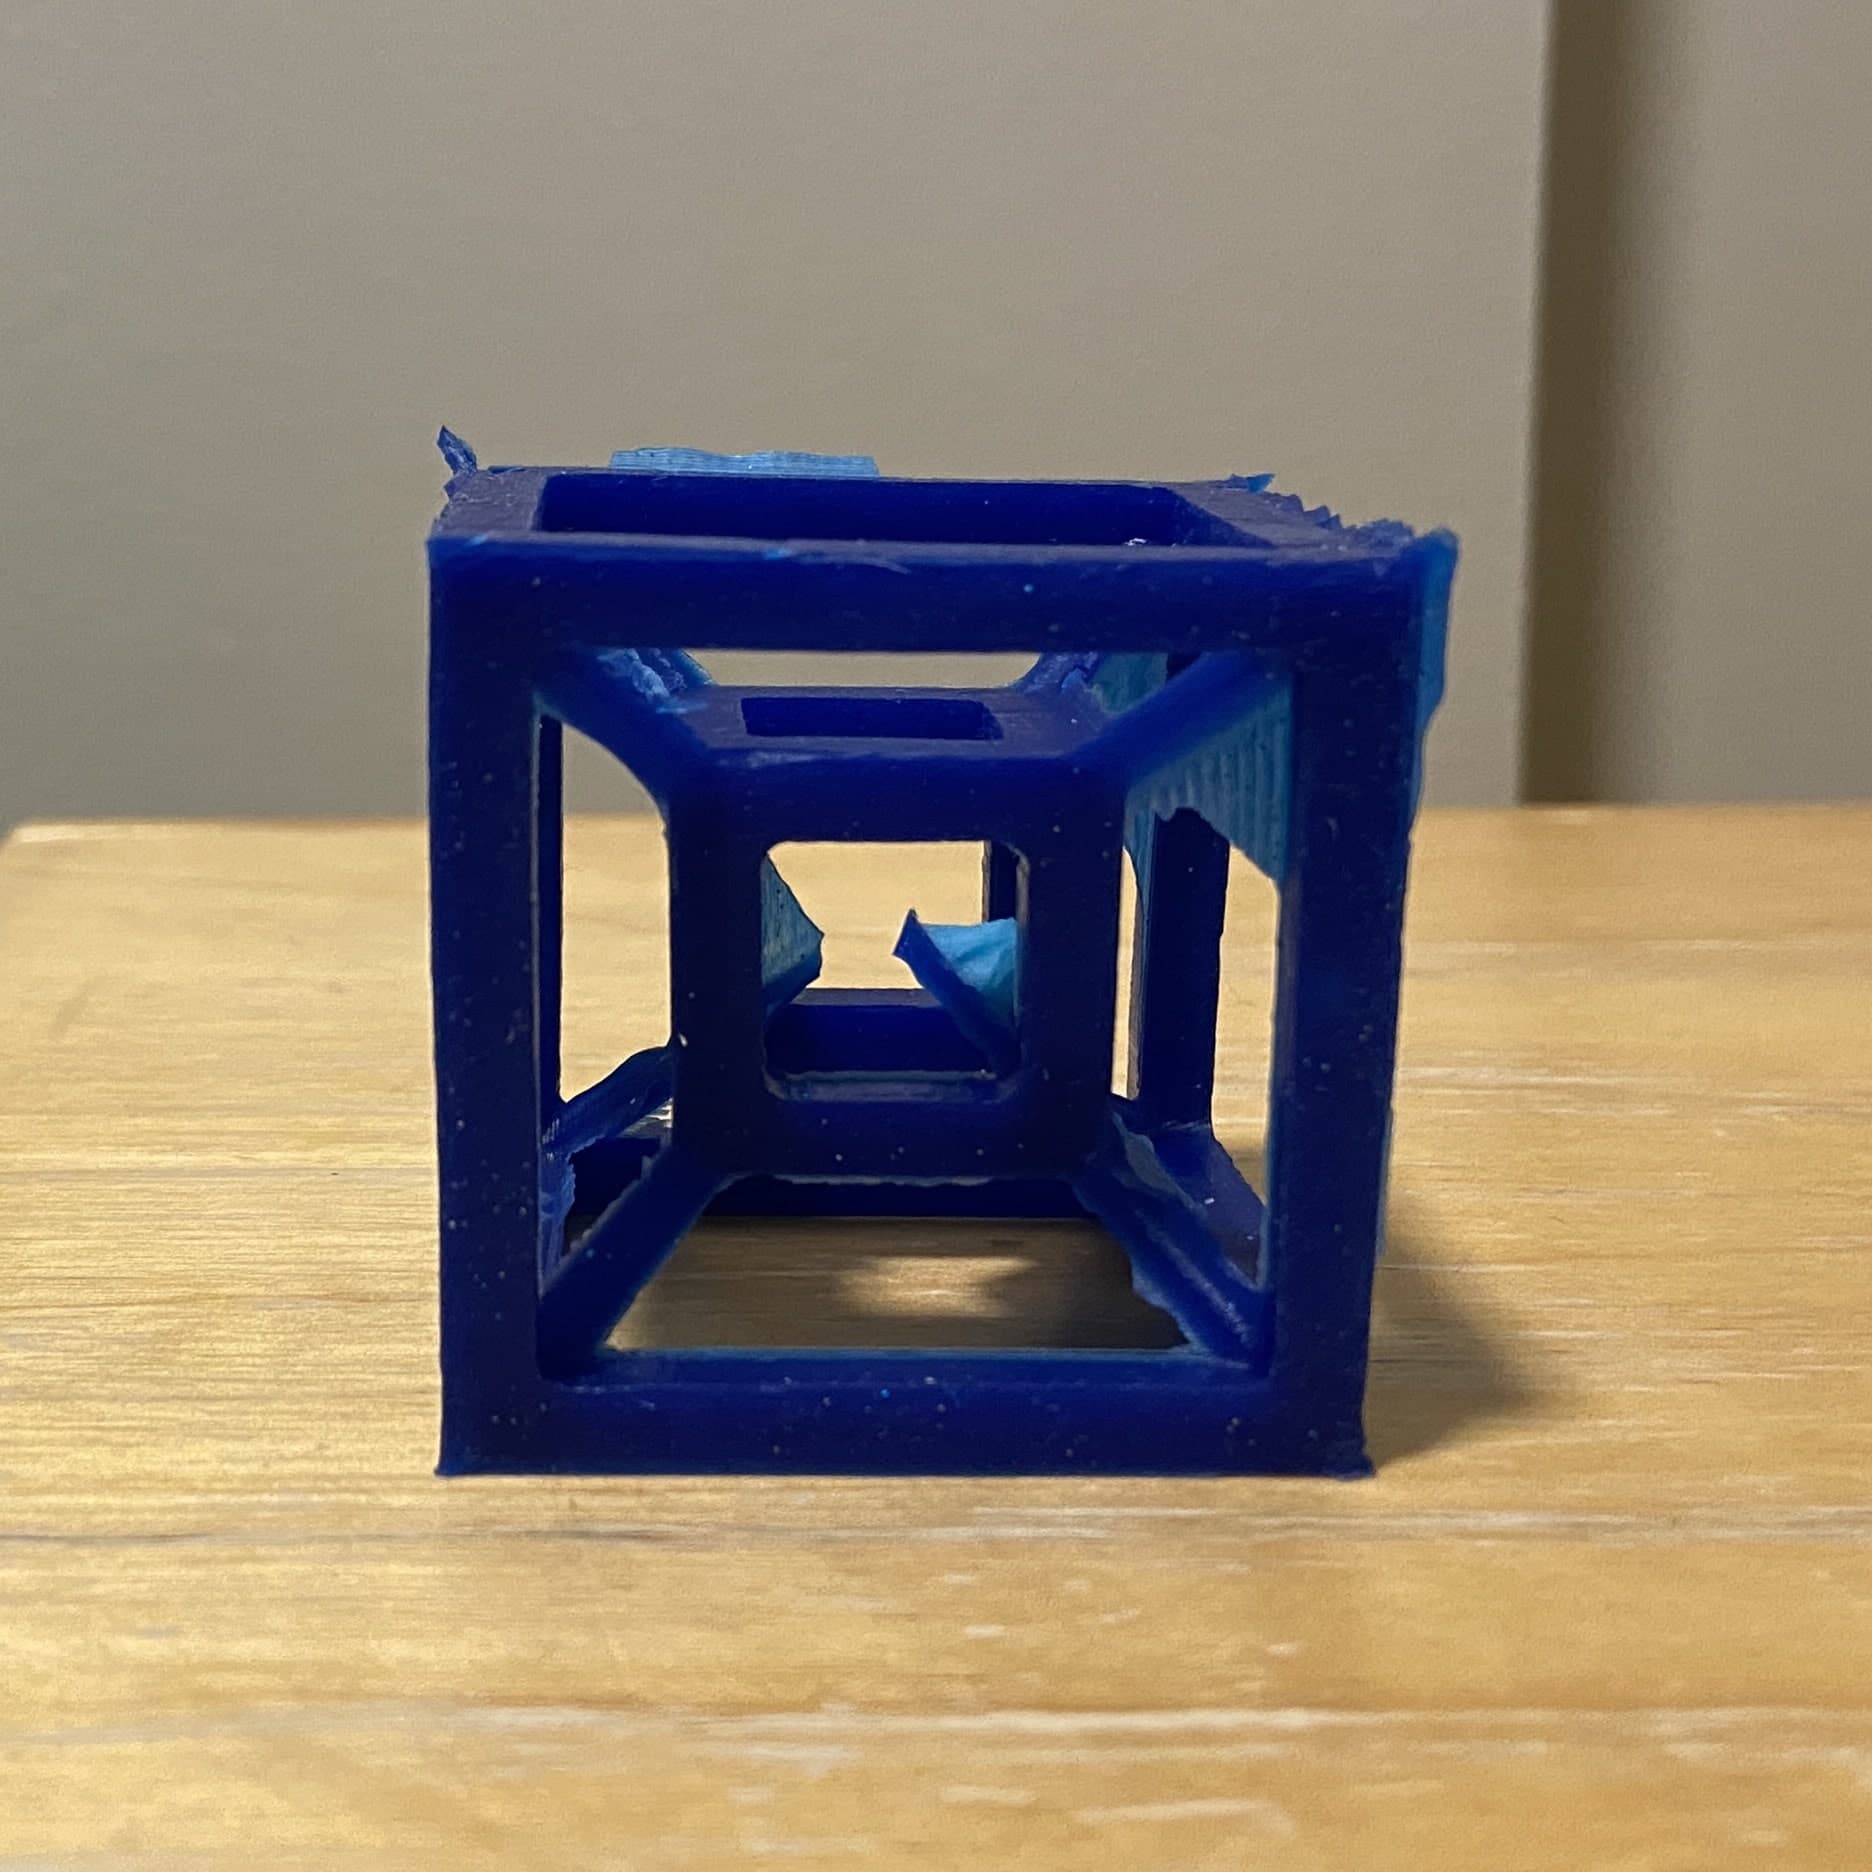 Finished cube